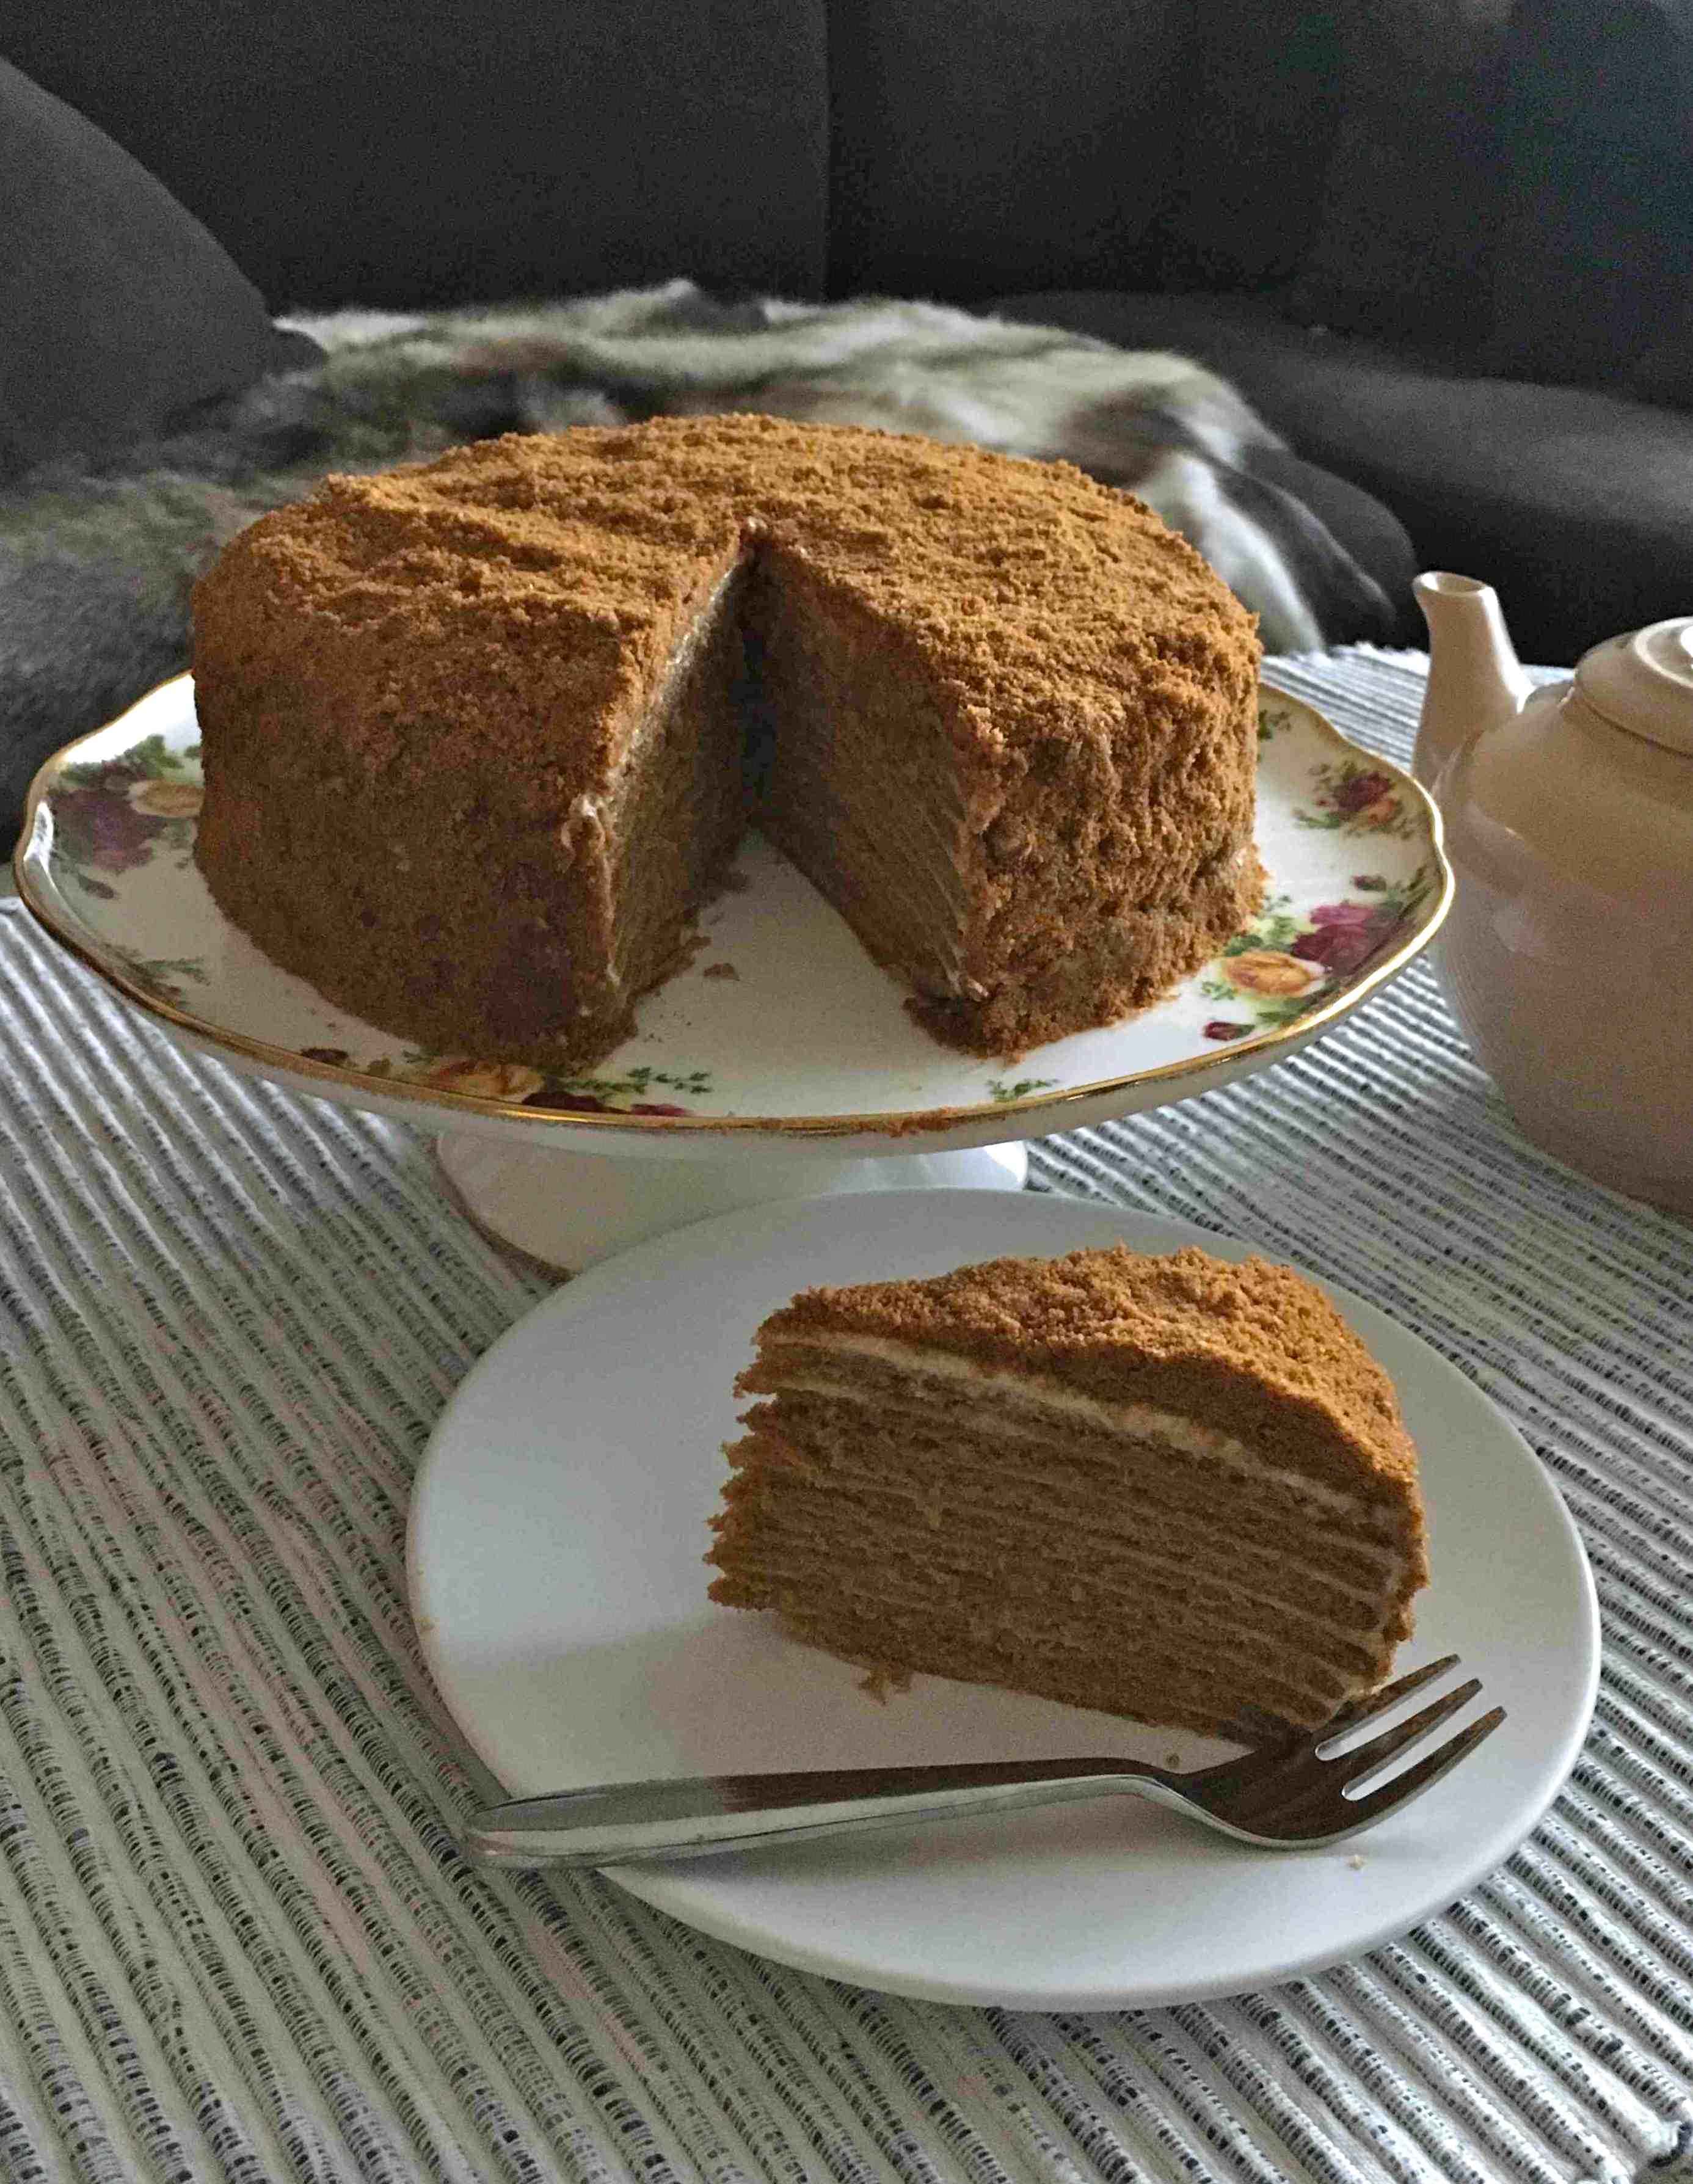
My trip to St Petersburg in June 2012 is memorable for all the wrong reason. Back then, there were moments when I felt like breaking down but looking back in time now, it was an adventure not to forget! And of course, lesson learnt! Also, it was in St Petersburg that I was first introduced to медовик торт — medovik tort, a multi-layered honey cake. How can I ever regret making that trip to Russia? Never ever.
A few months after I came back from my trip, I noticed that Harrods sells this delectable dessert in their food hall. It became almost a ritual, or should I say guilty pleasure that whenever I visit Harrods, I would buy a slice of the cake. Only a slice. As much as I love the cake, it would be a tragedy to have the whole cake all to myself.
But lately, Harrods has changed the receipe slightly. For the decoration, it uses more cream and less crumbs. For someone who scraps the icing off a cupcake, this is a move in the direction that I do not fancy, nor do I approve.
So I decide to make my own and scout the internet for a reliable recipe.
With the multiple layers, I already expected the cake to be complicated. What I found out surprised me. The method is odd. Effectively, I need to make biscuits in order to make the cake. Each layer of biscuit is spread with cream and the assembled cake is left overnight. It is the cream that will soften the biscuits to make them into a moist cake.
While the process can be time consuming, you can break it down and do different bits on different days, assembling the cake only a day before you want to serve it. I am pleasantly surprised to find out that this honey cake is not that hard to make. In fact, I made mine over the course of the last three days — down with flu, I am stuck indoors so I turned to baking in between medication and rest.
The recipe is adapted from Mrs Moidela.
For the biscuit:
- 110g butter
- ¼ cup honey
- 160g sugar
- 2 eggs
- 1 tsp bicarbonate soda
- 400 – 500g flour
For the cream:
- 1 can cooked sweetened condensed milk
- 600ml soured cream
For decoration:
- 1 cup walnuts
- Biscuit scraps
On Thursday night: I made the dulce de leche. Submerge a can of sweetened condensed milk and let the water come to a gentle boil.
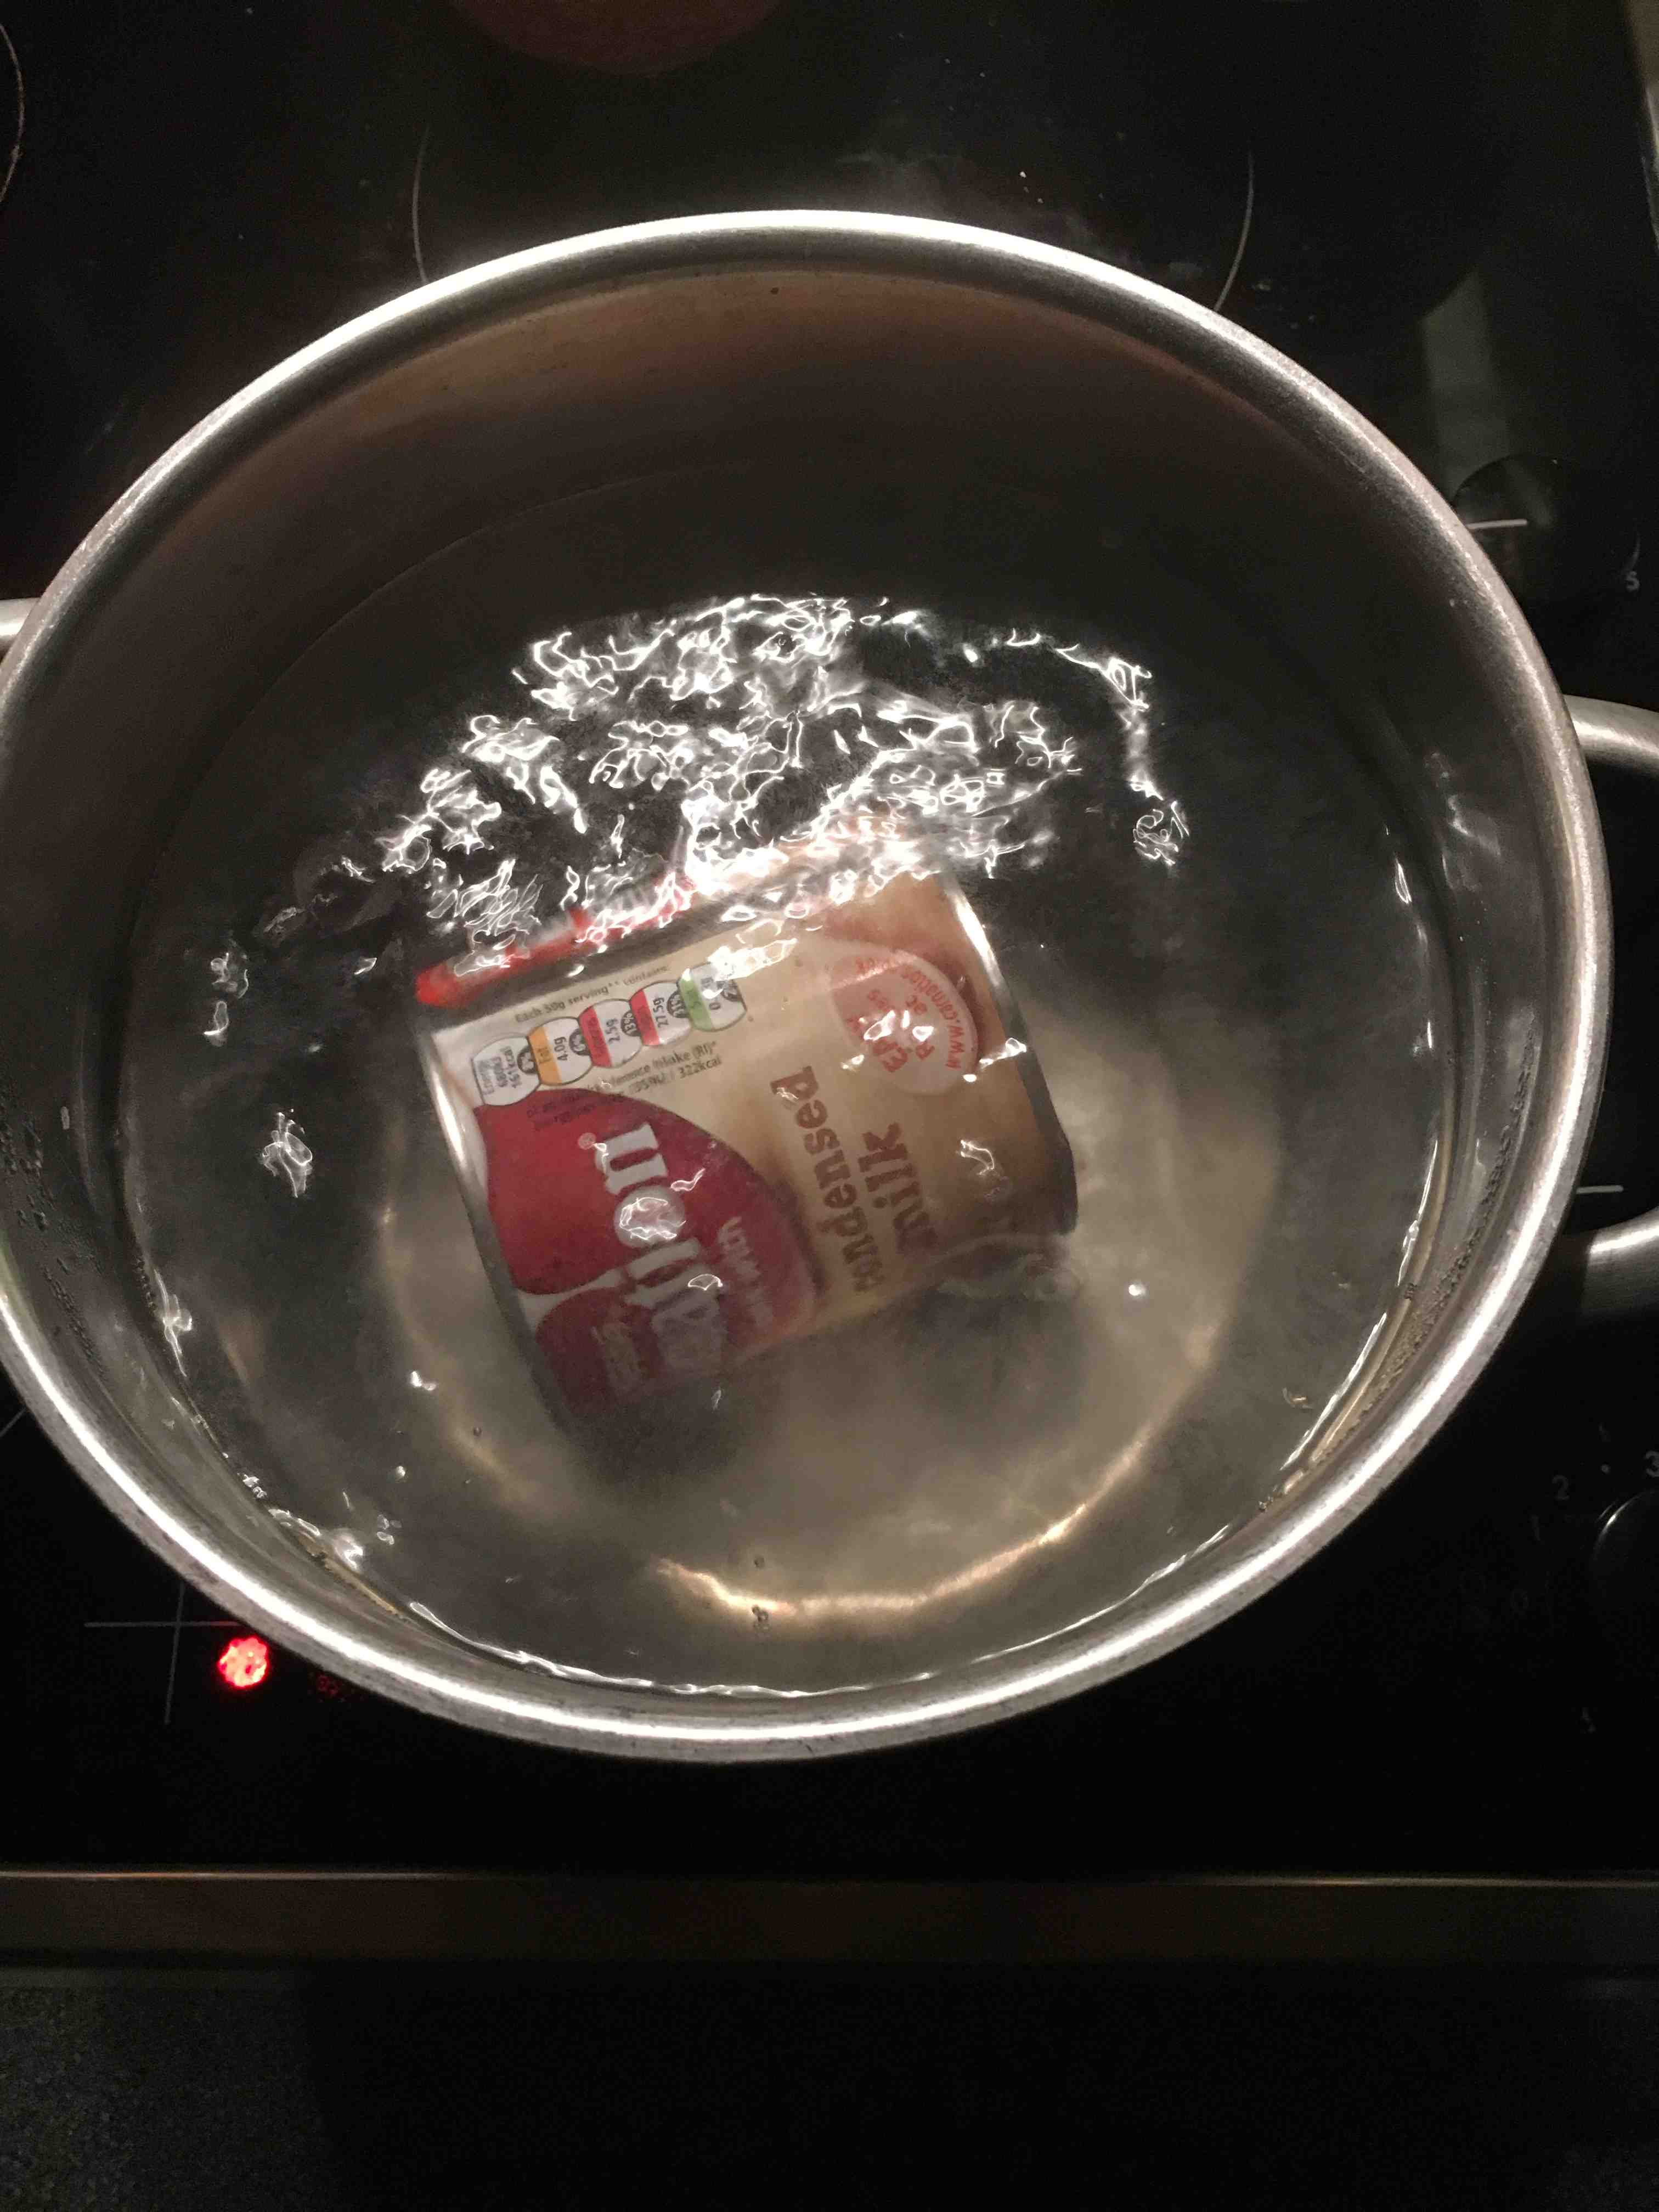
Let it simmer for 2 hours. Make sure that the can is always submerged. Top up with water when needed. Once the time is up, take it out of the water and let it cool completely.
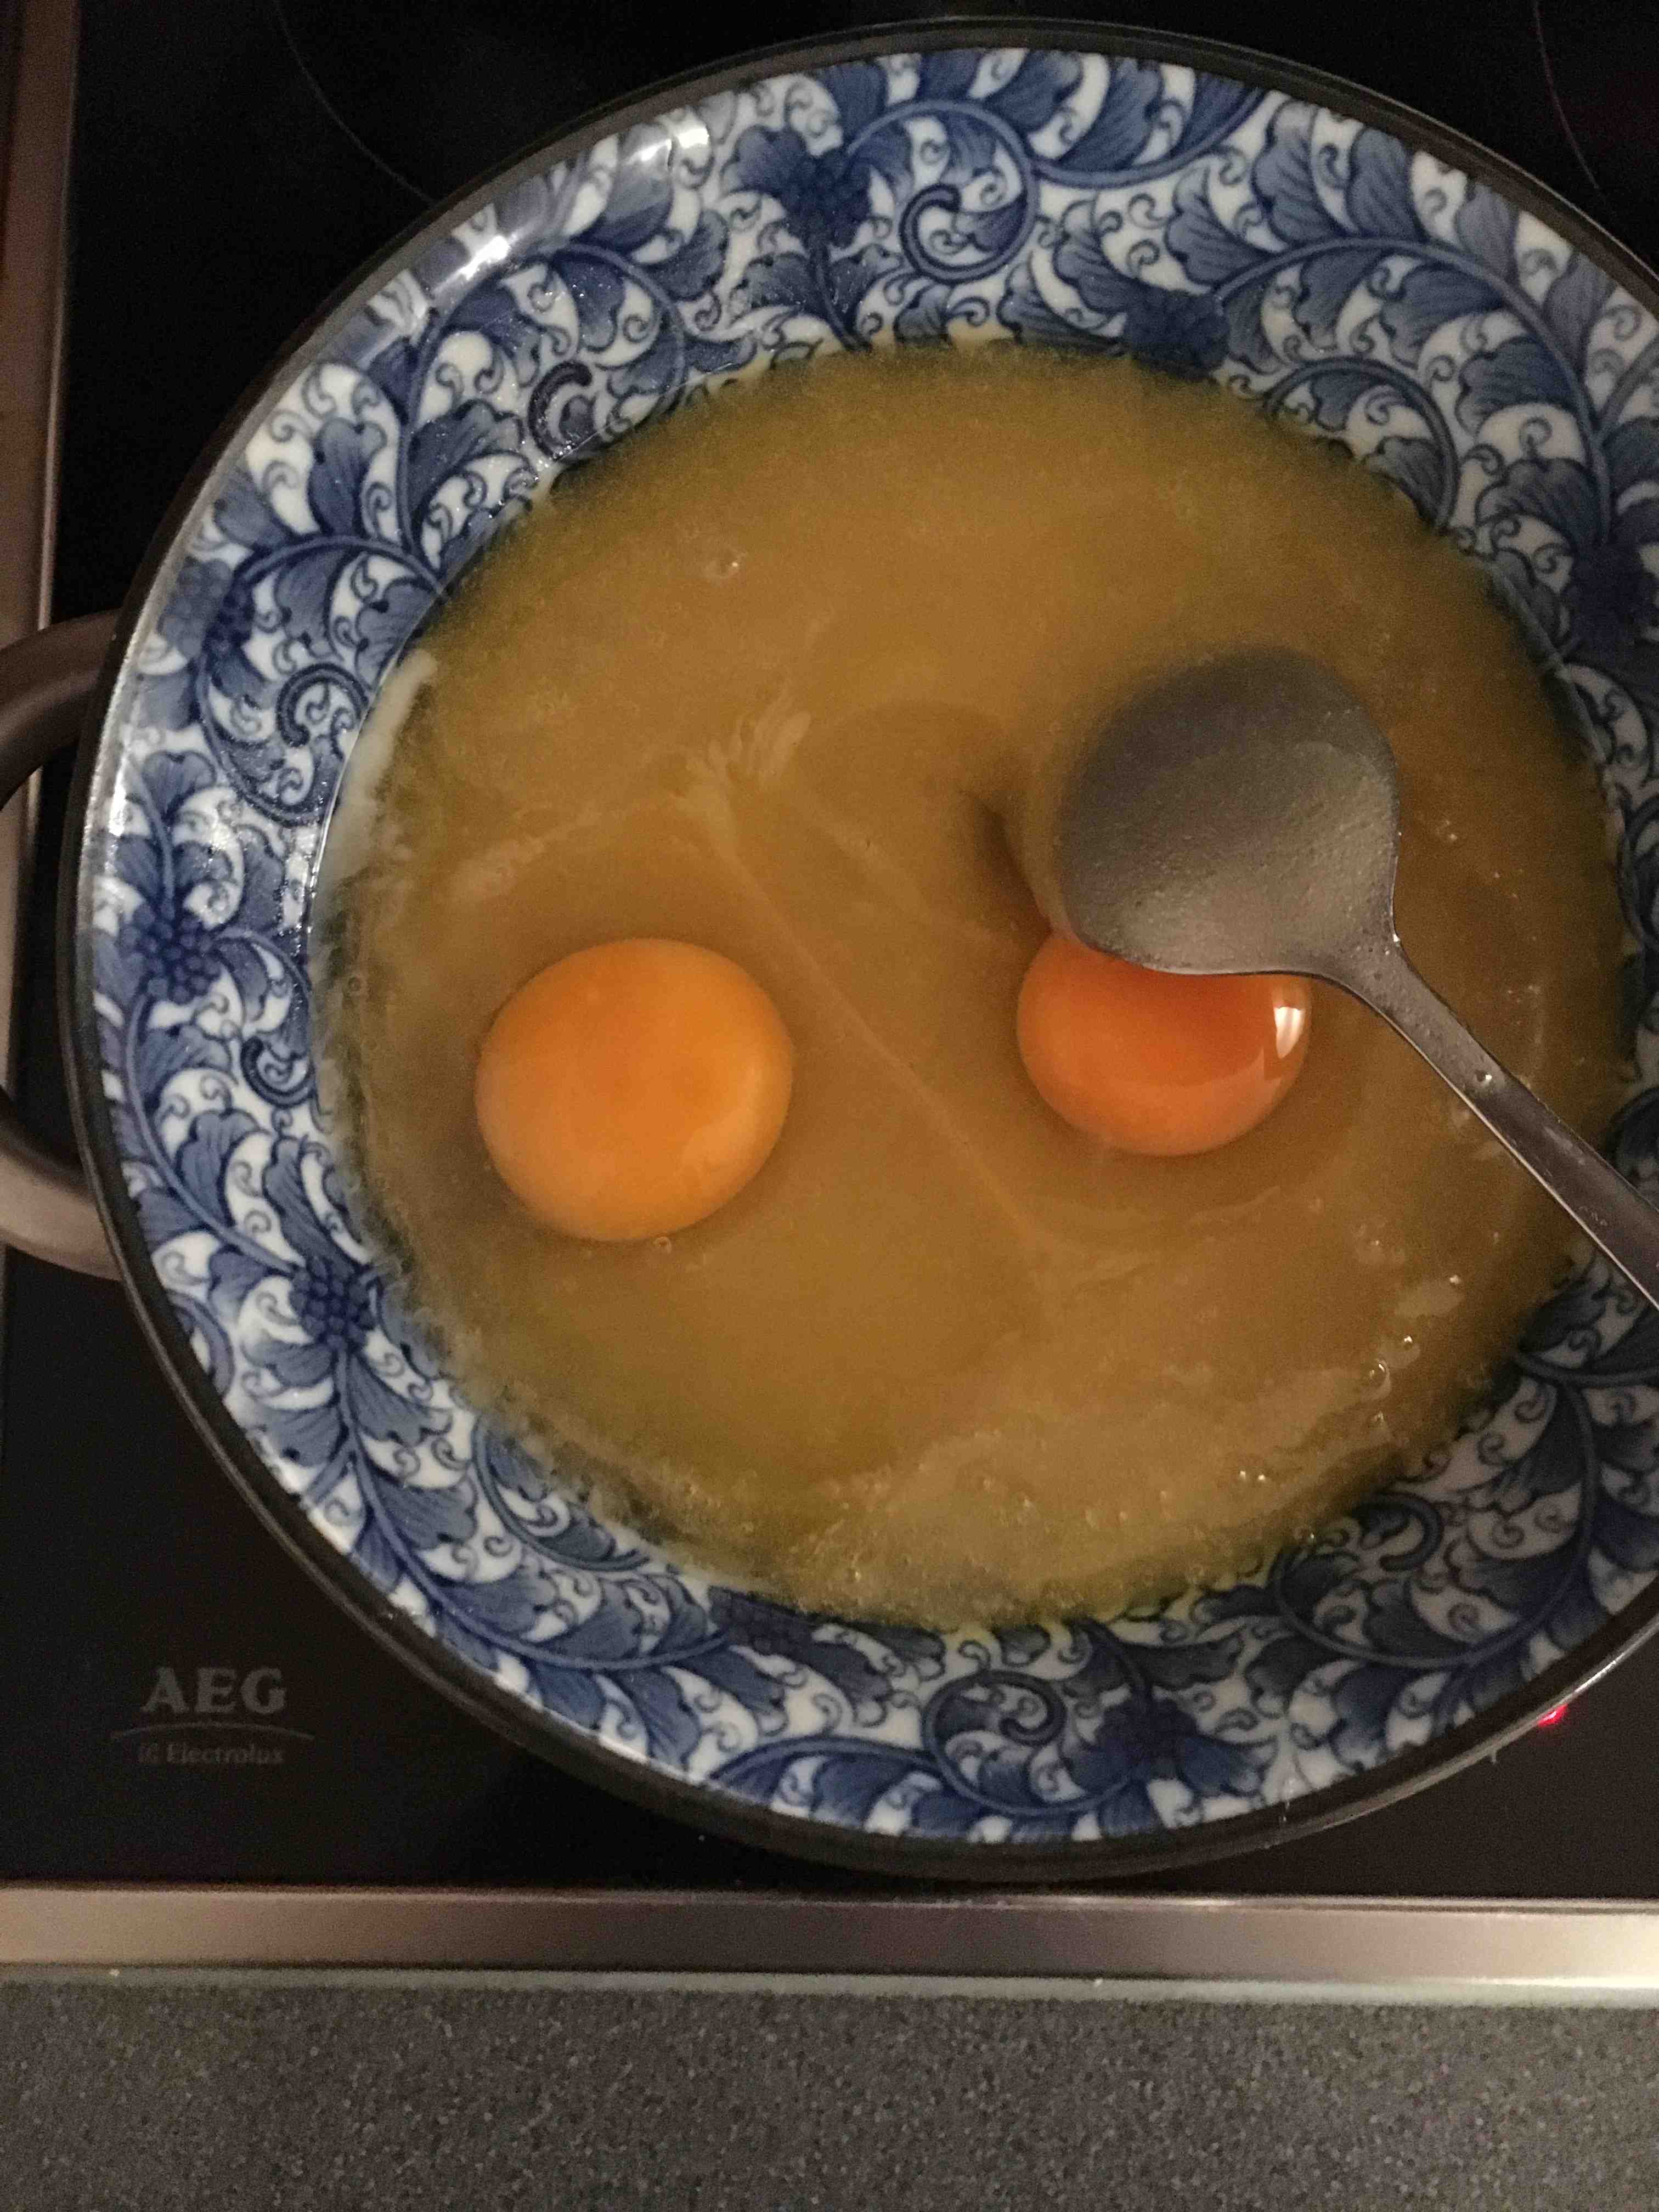
On Friday night: On a double boiler, melt the butter, sugar and honey.
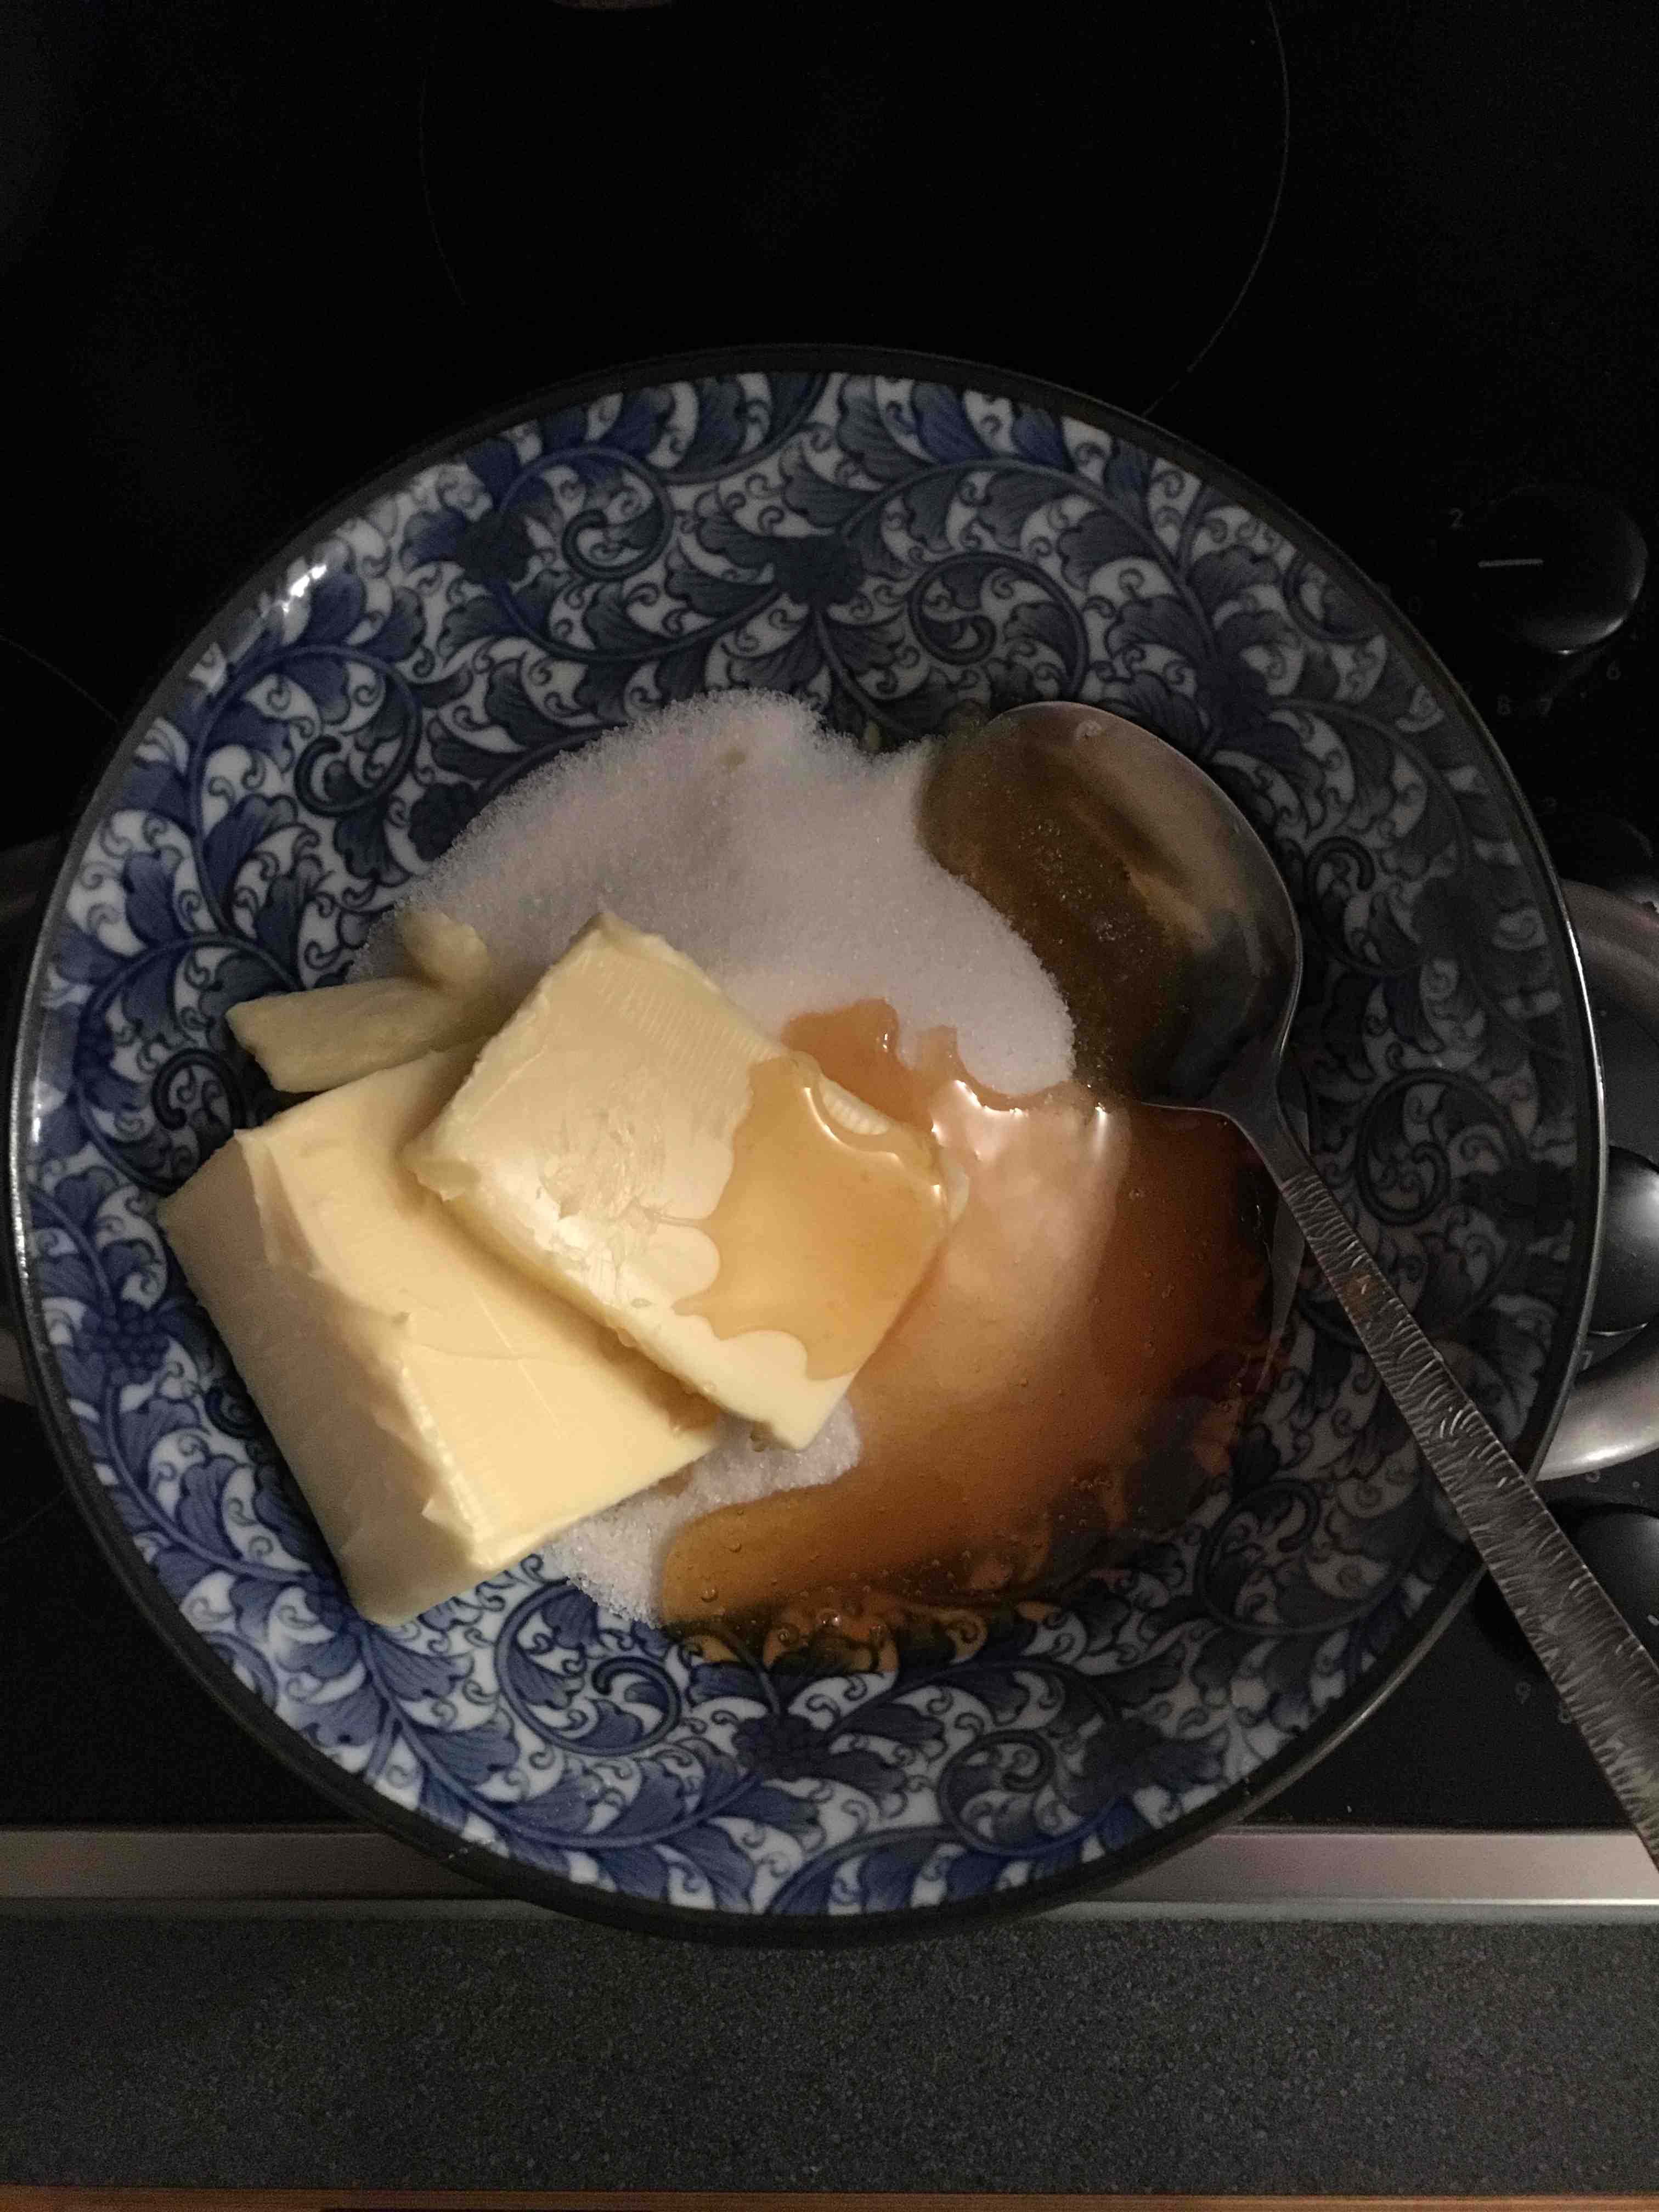
Once melted, take it off the heat and beat in the eggs. You need to be quick as you don’t want the eggs to scramble.
Add the bicarbonate soda.
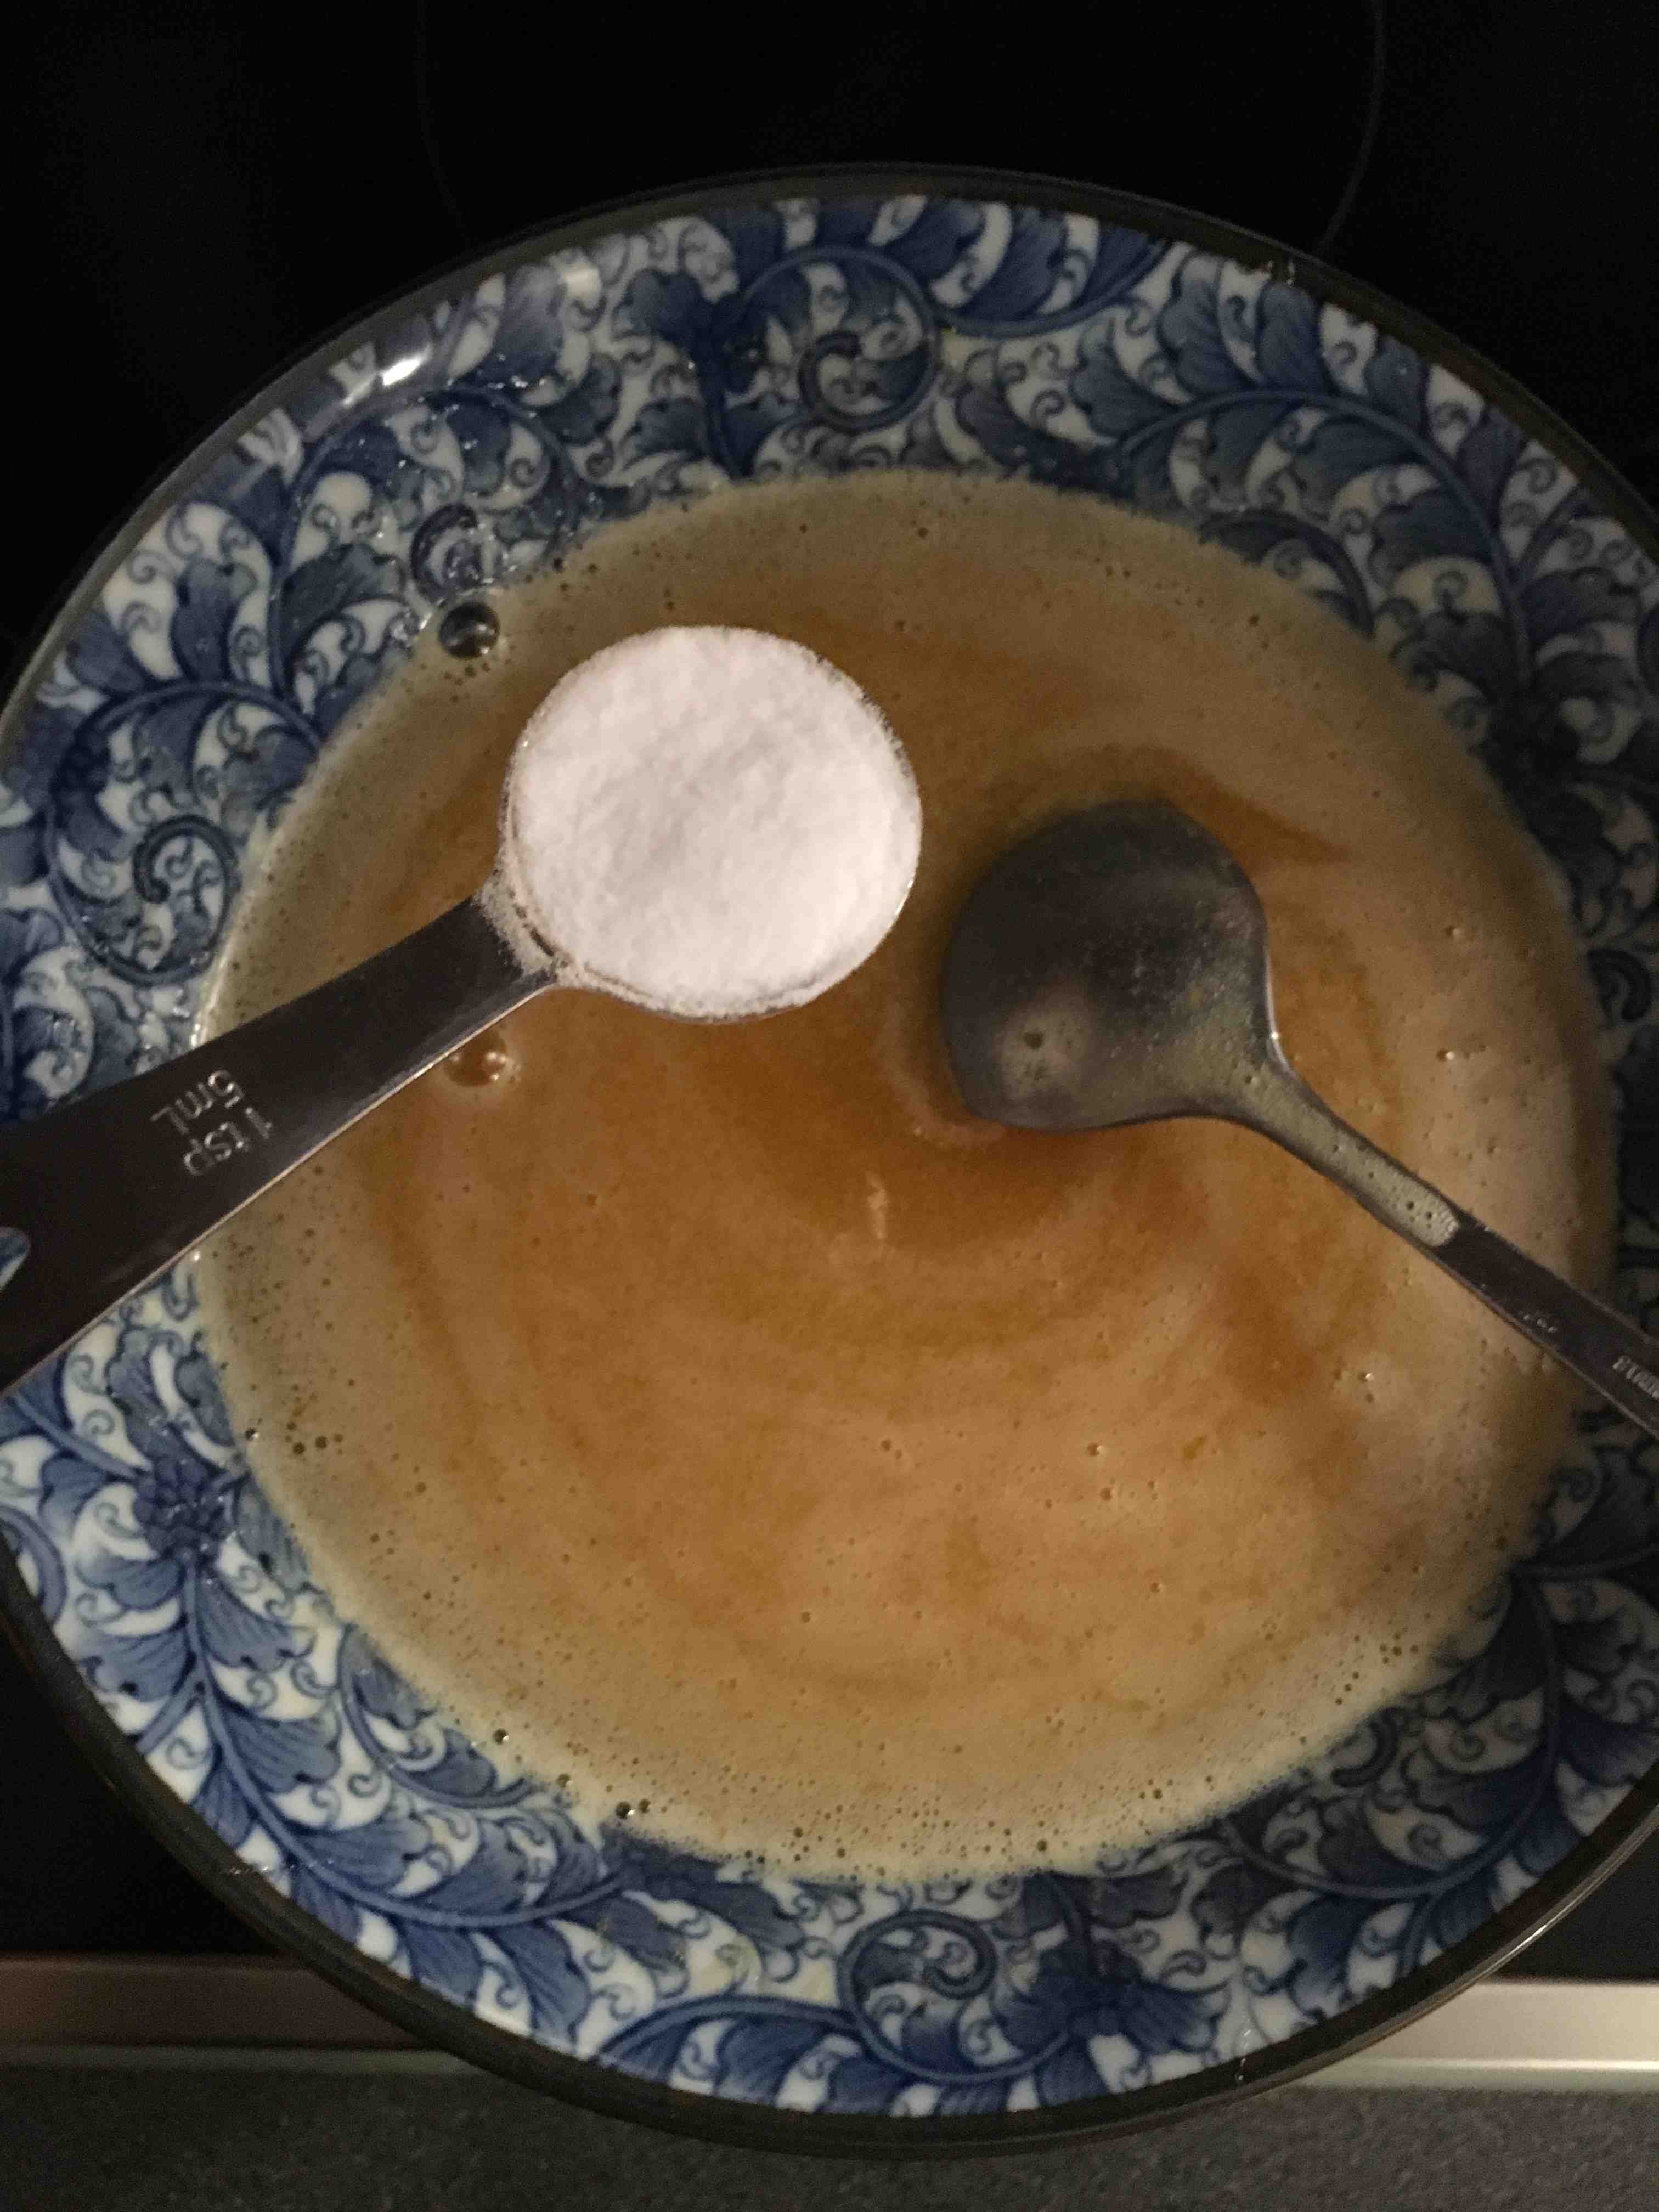
You will see that the mixture will start to bubble and will almost double in volume. Continue to stir for approximately 15 mins. It will thicken slightly and turn to a caramel colour.
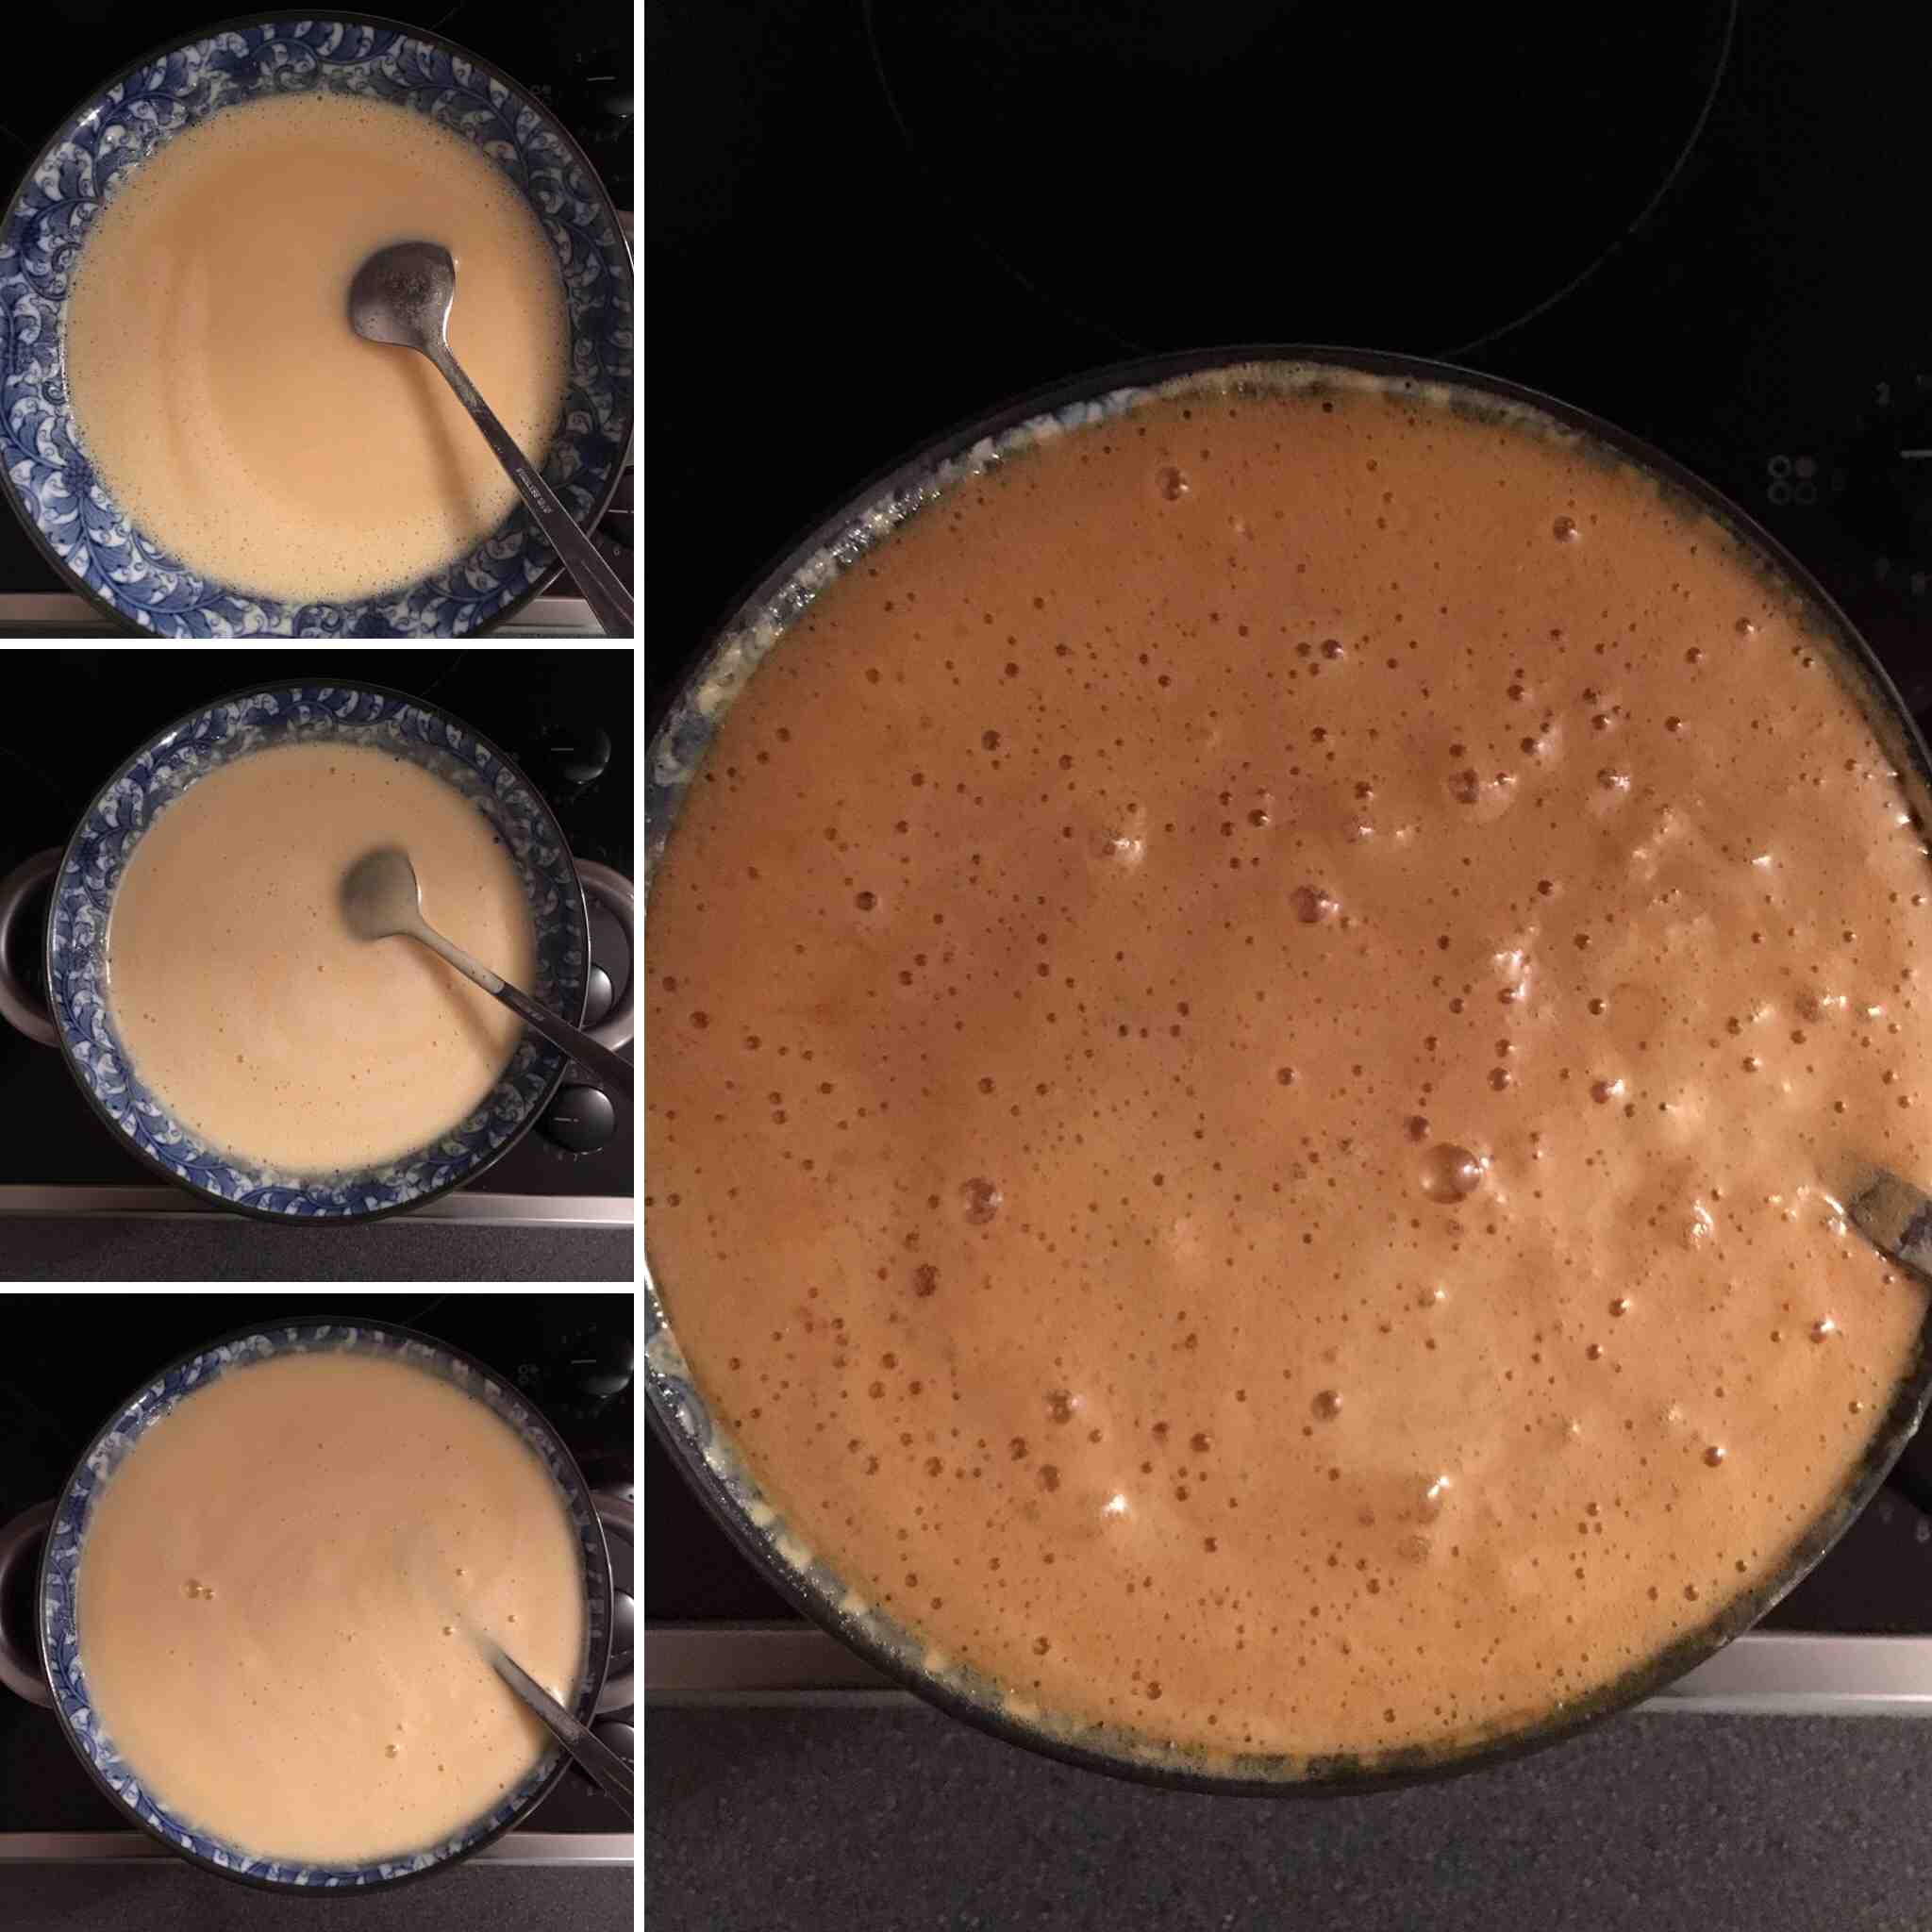
As you can see, I used a small bowl so I had to pour the content into a larger bowl. Don’t be like me. Use a larger bowl and save yourself the need to wash one extra bowl.
Sieve the flour in, about half a cup at a time.
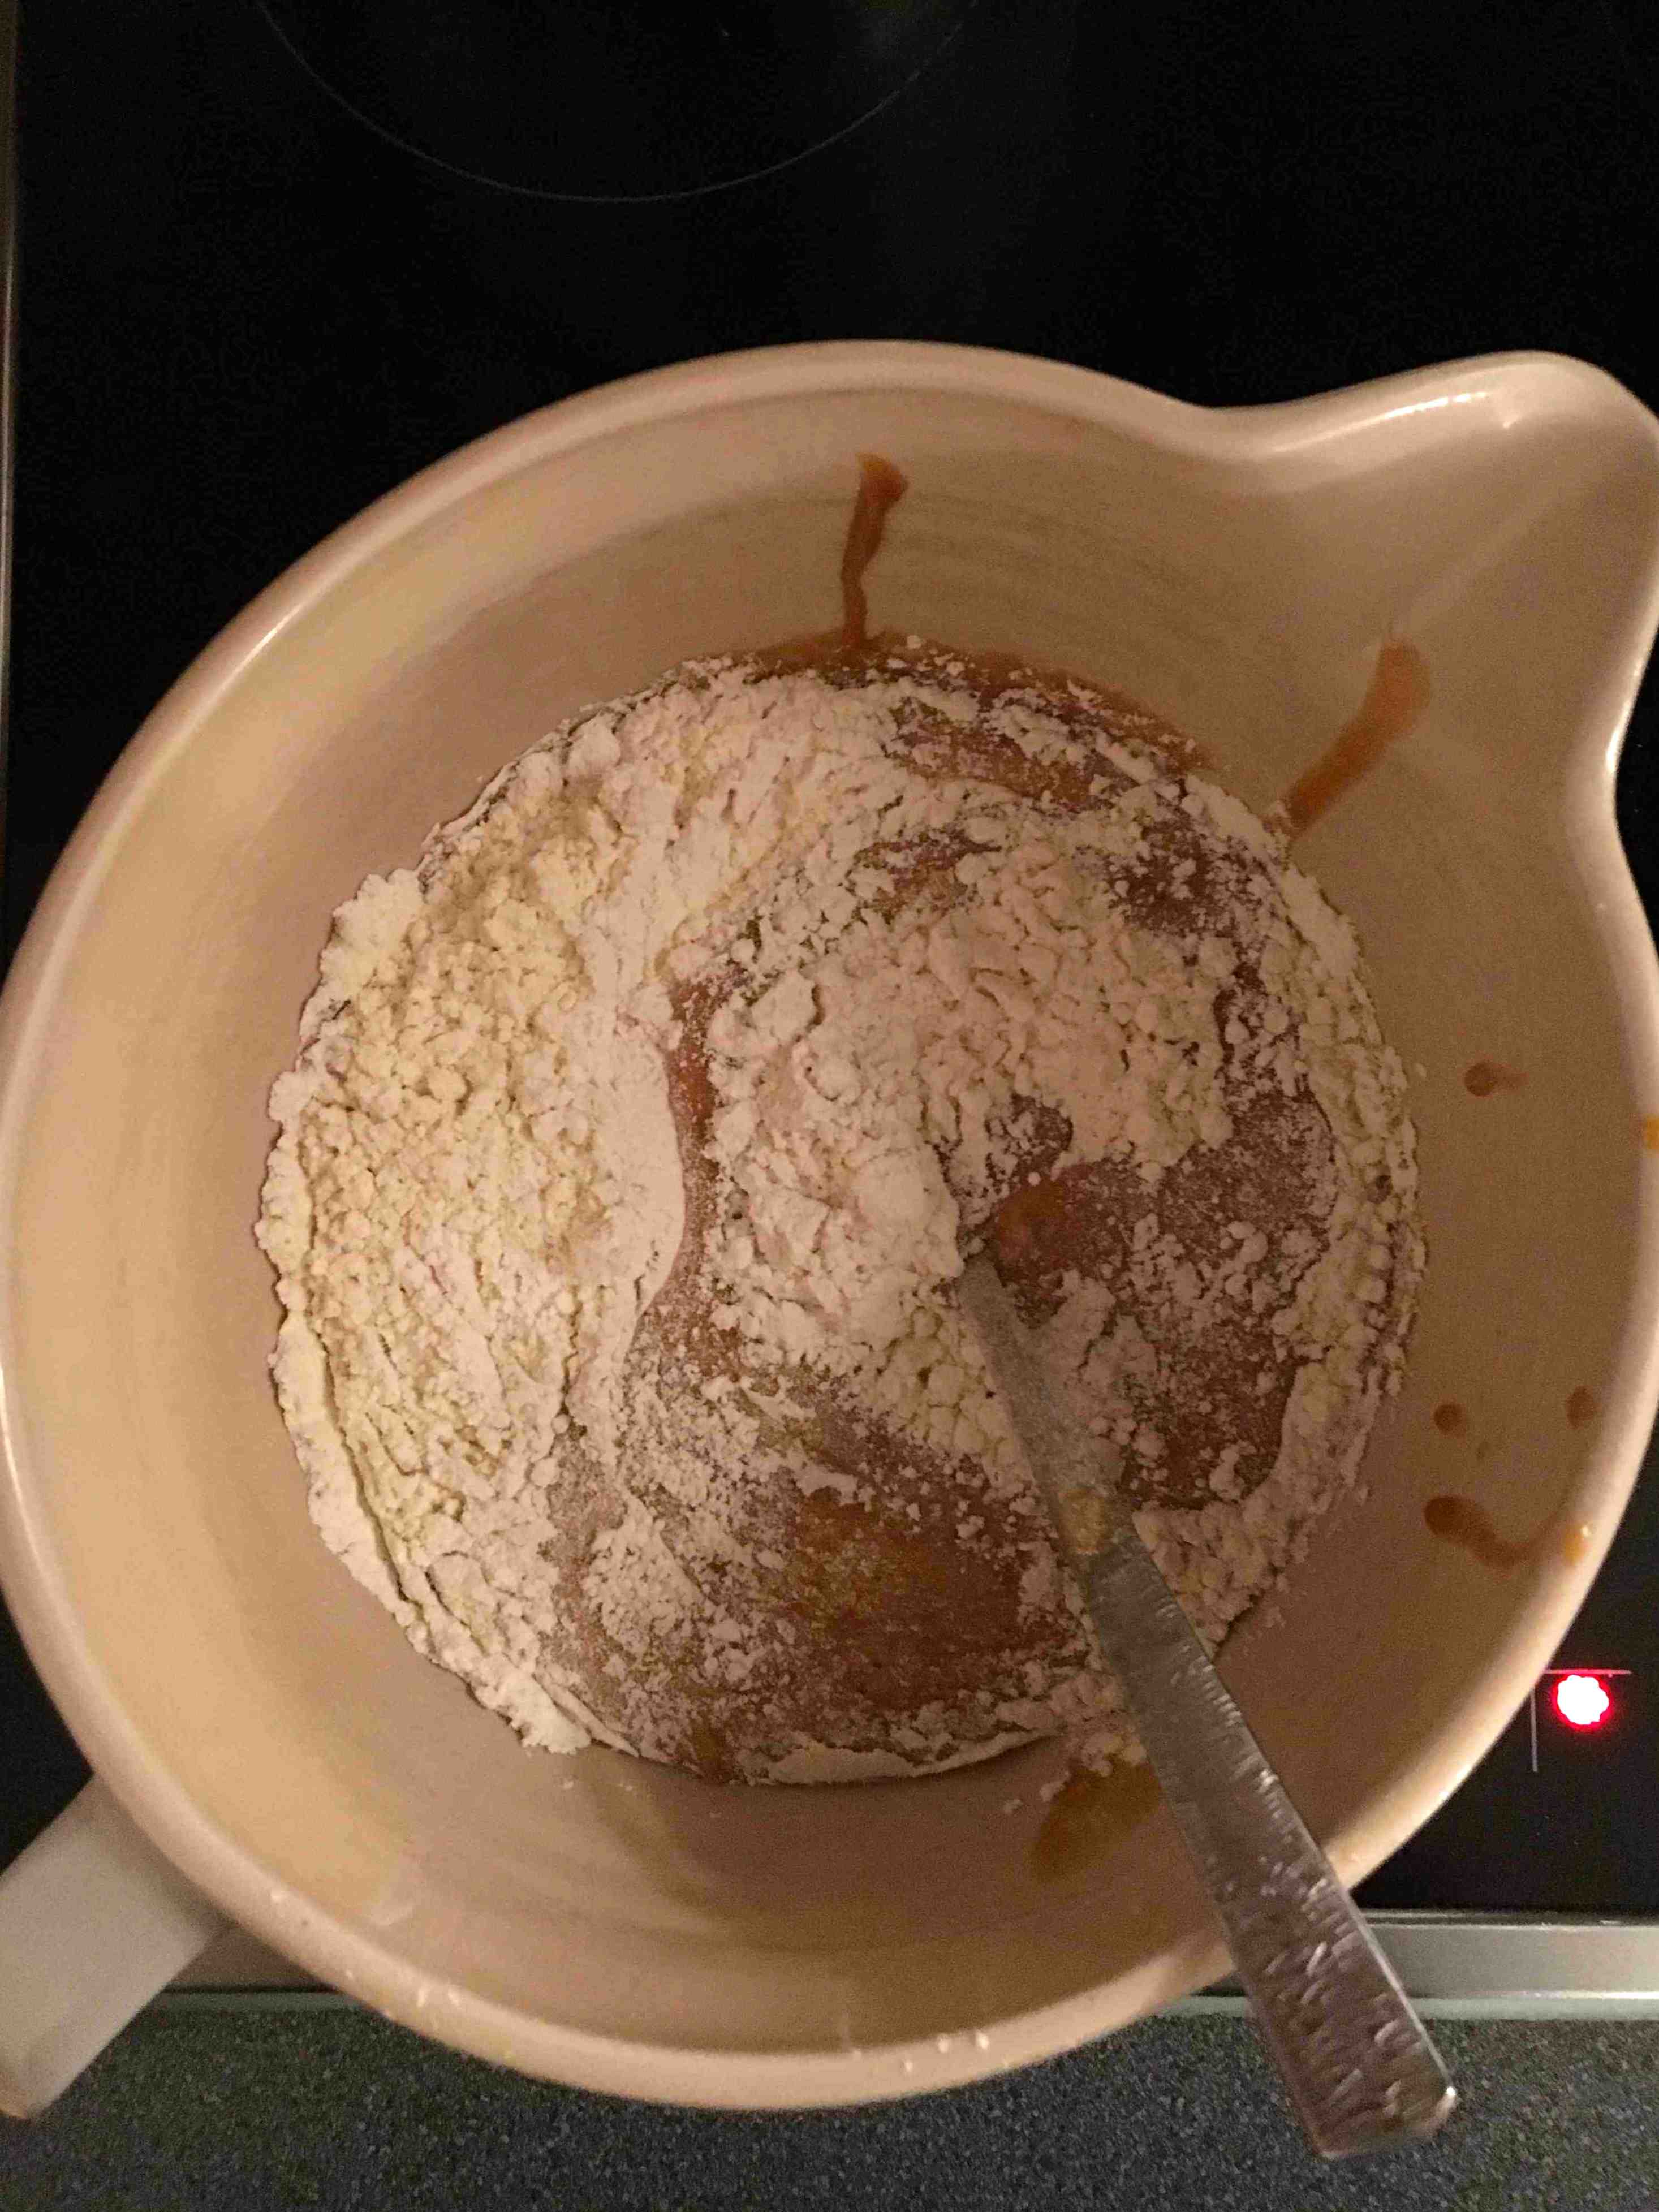
You’d want to err on less rather than more. You can always add more flour later but you can’t take it out. I used approximately 450g.
You would want a soft dough.
The Russian bakers on the internet claim that it easier to roll the dough while it’s still warm but my fever came so I wrapped the dough in cling film and popped it in the fridge. I took my medicine and went to bed.
Yesterday morning: Feeling a bit better, I went to the kitchen to continue on with the project. The dough was very firm after a night in the fridge and I was worried it would end up being hard as a rock. But I’d ran out of honey to make a new batch so I took a gamble and proceeded.
I divided the dough into 8 equal parts.
As the aim is to roll the dough as thinly as possible, I rolled the dough straight onto the baking paper. I used a medium sized pan lid as a template to cut out a circle.
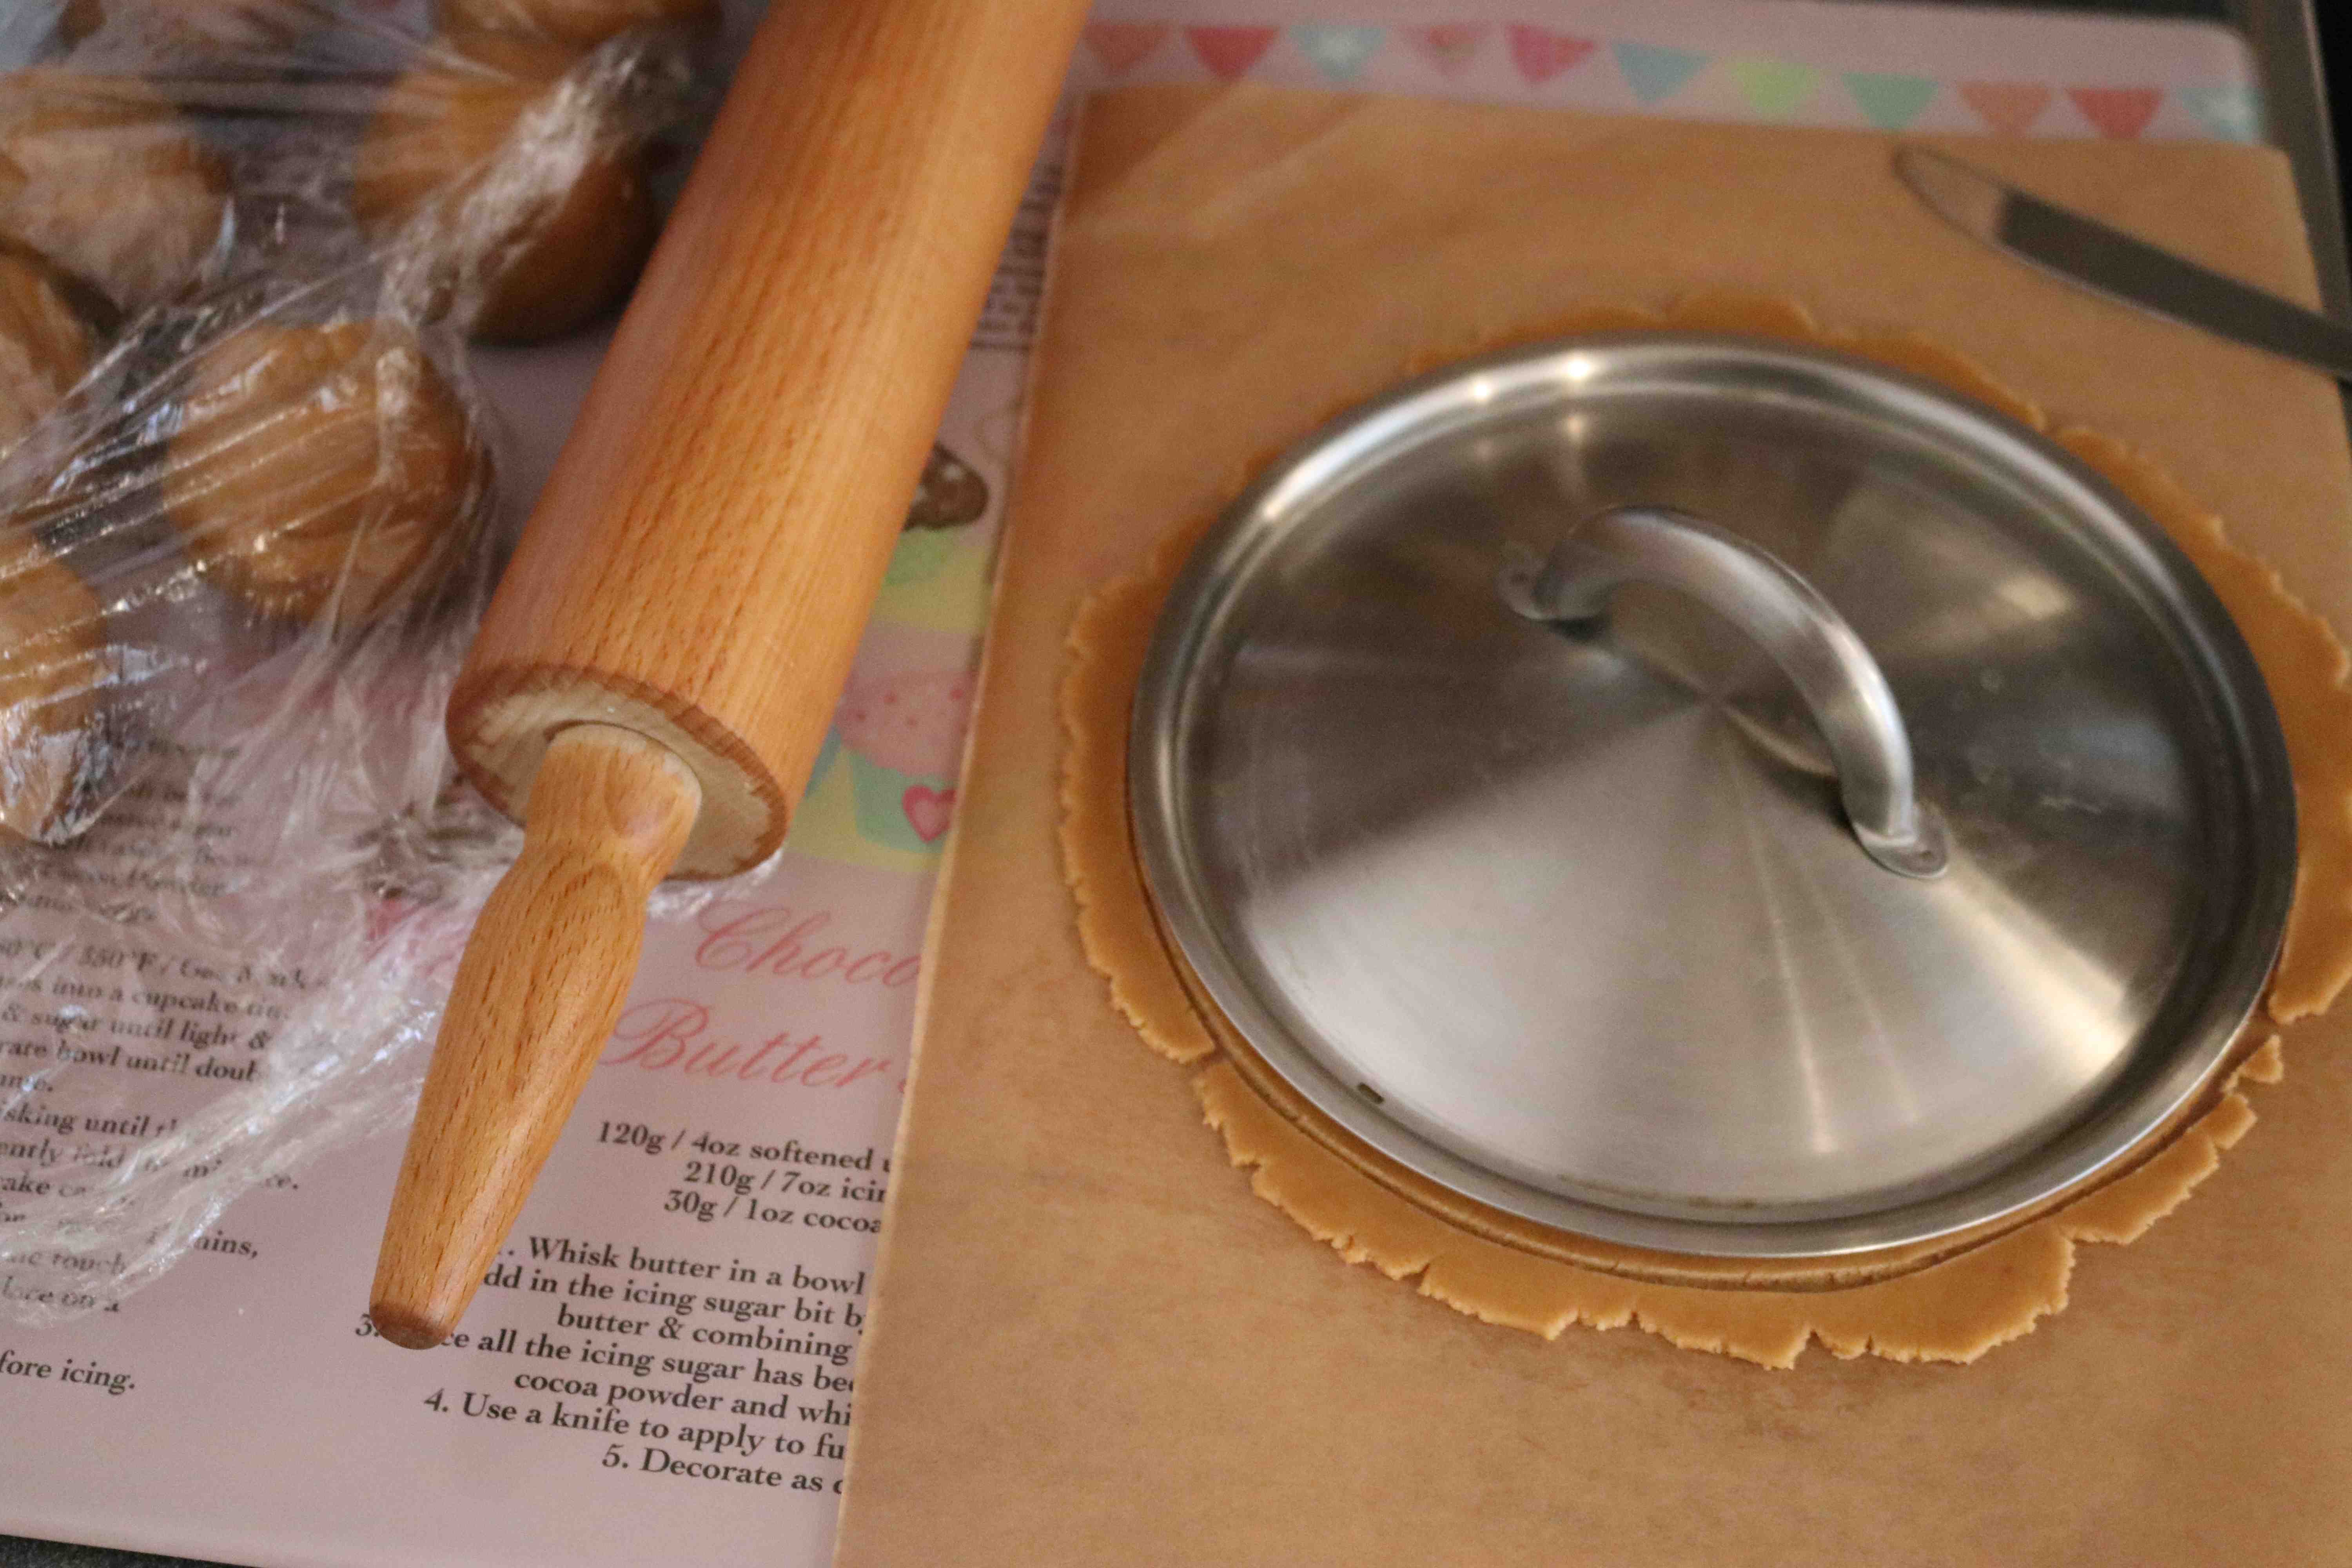
Prick the dough with a fork.
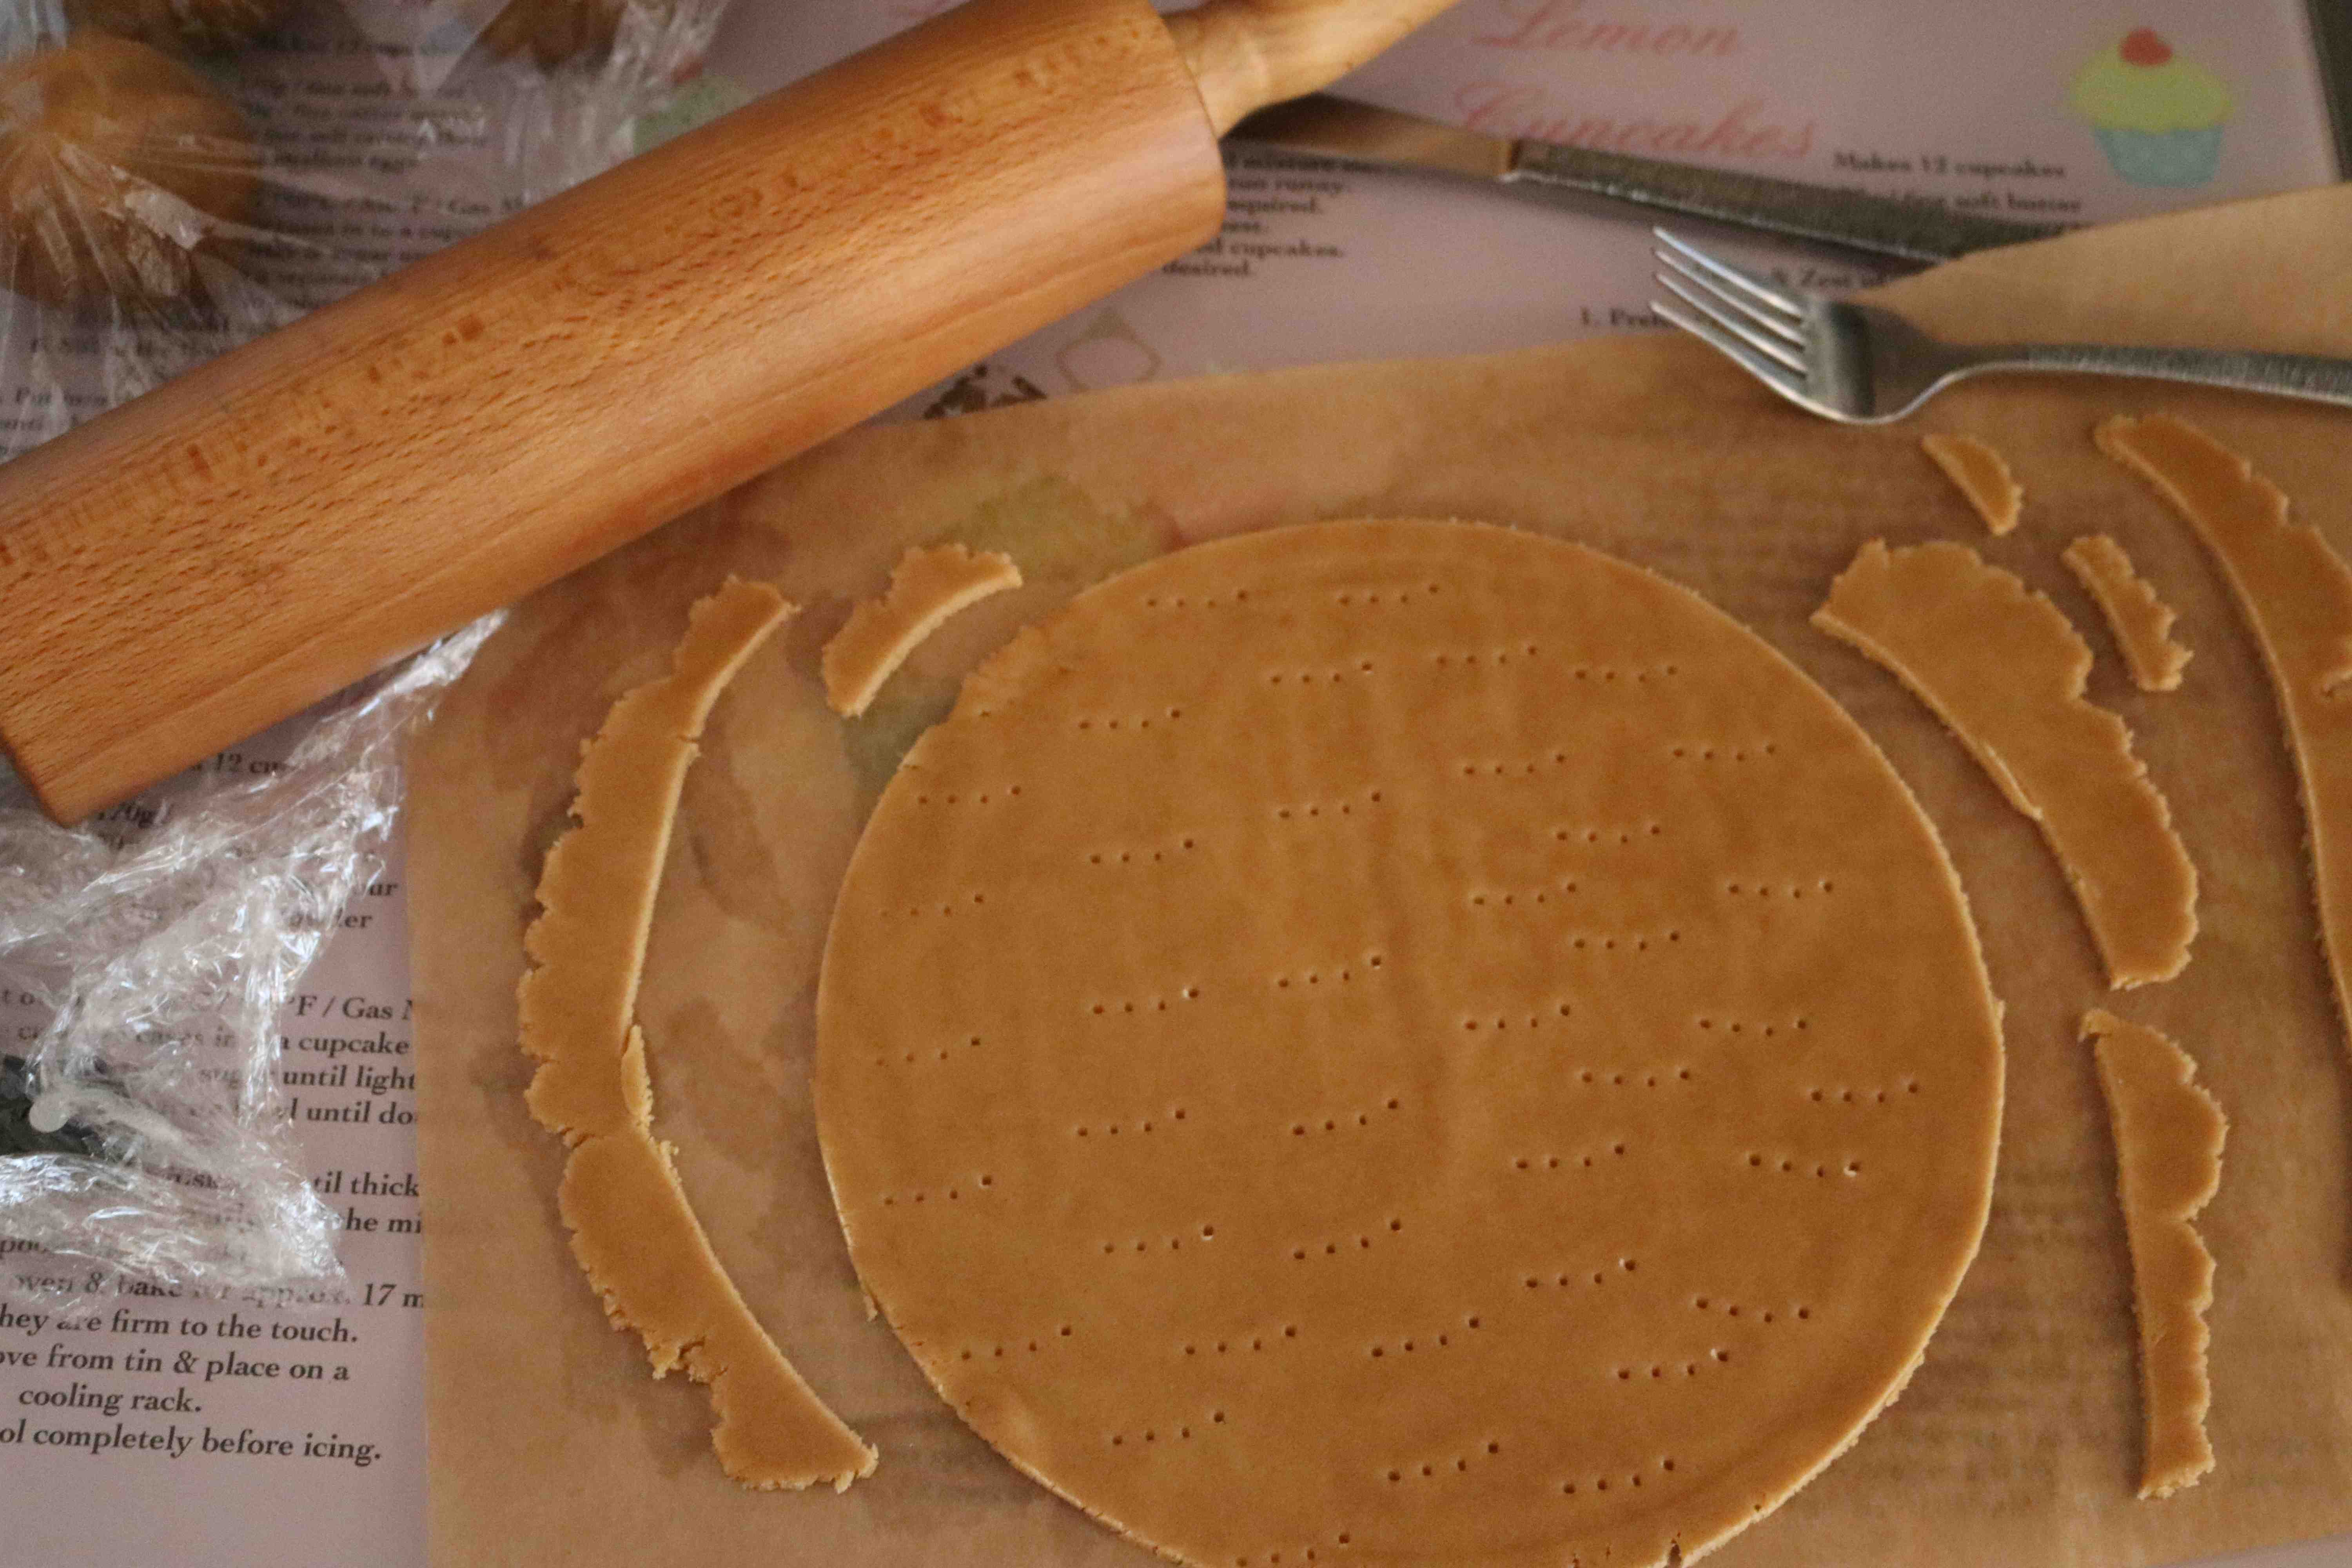
Bake in a preheated oven at 180°C for 6 to 7 minutes, scarps and all.
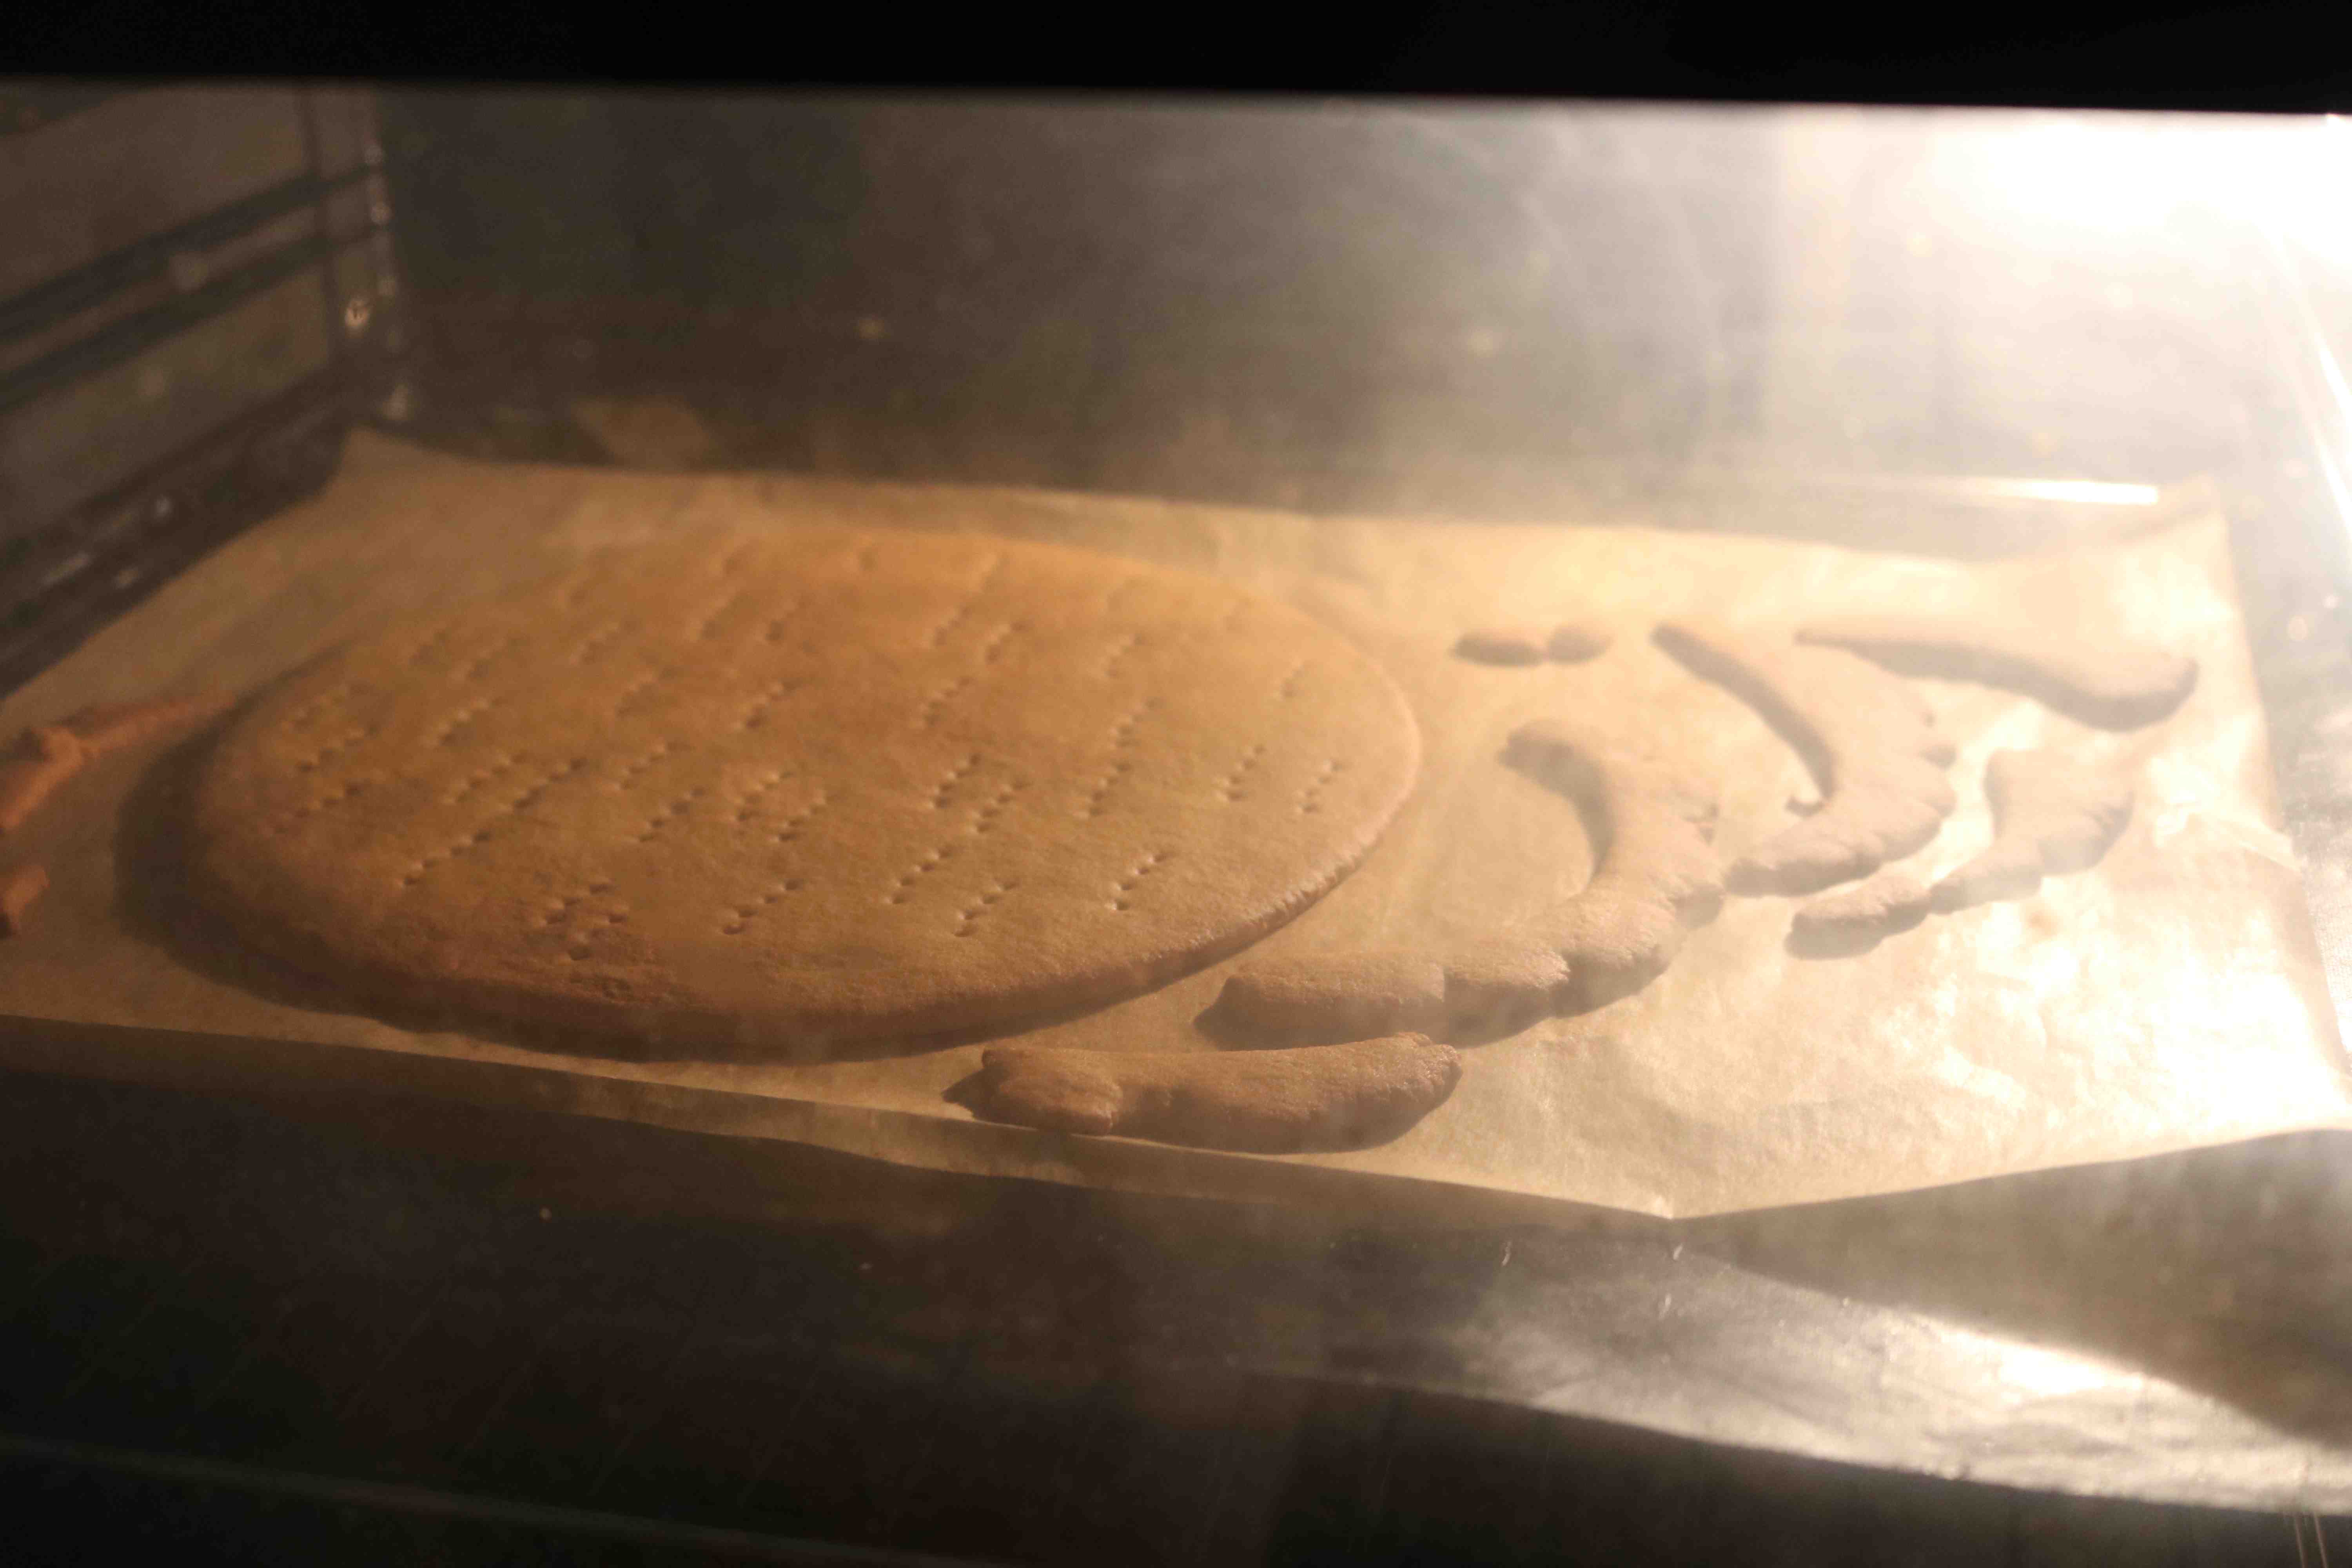
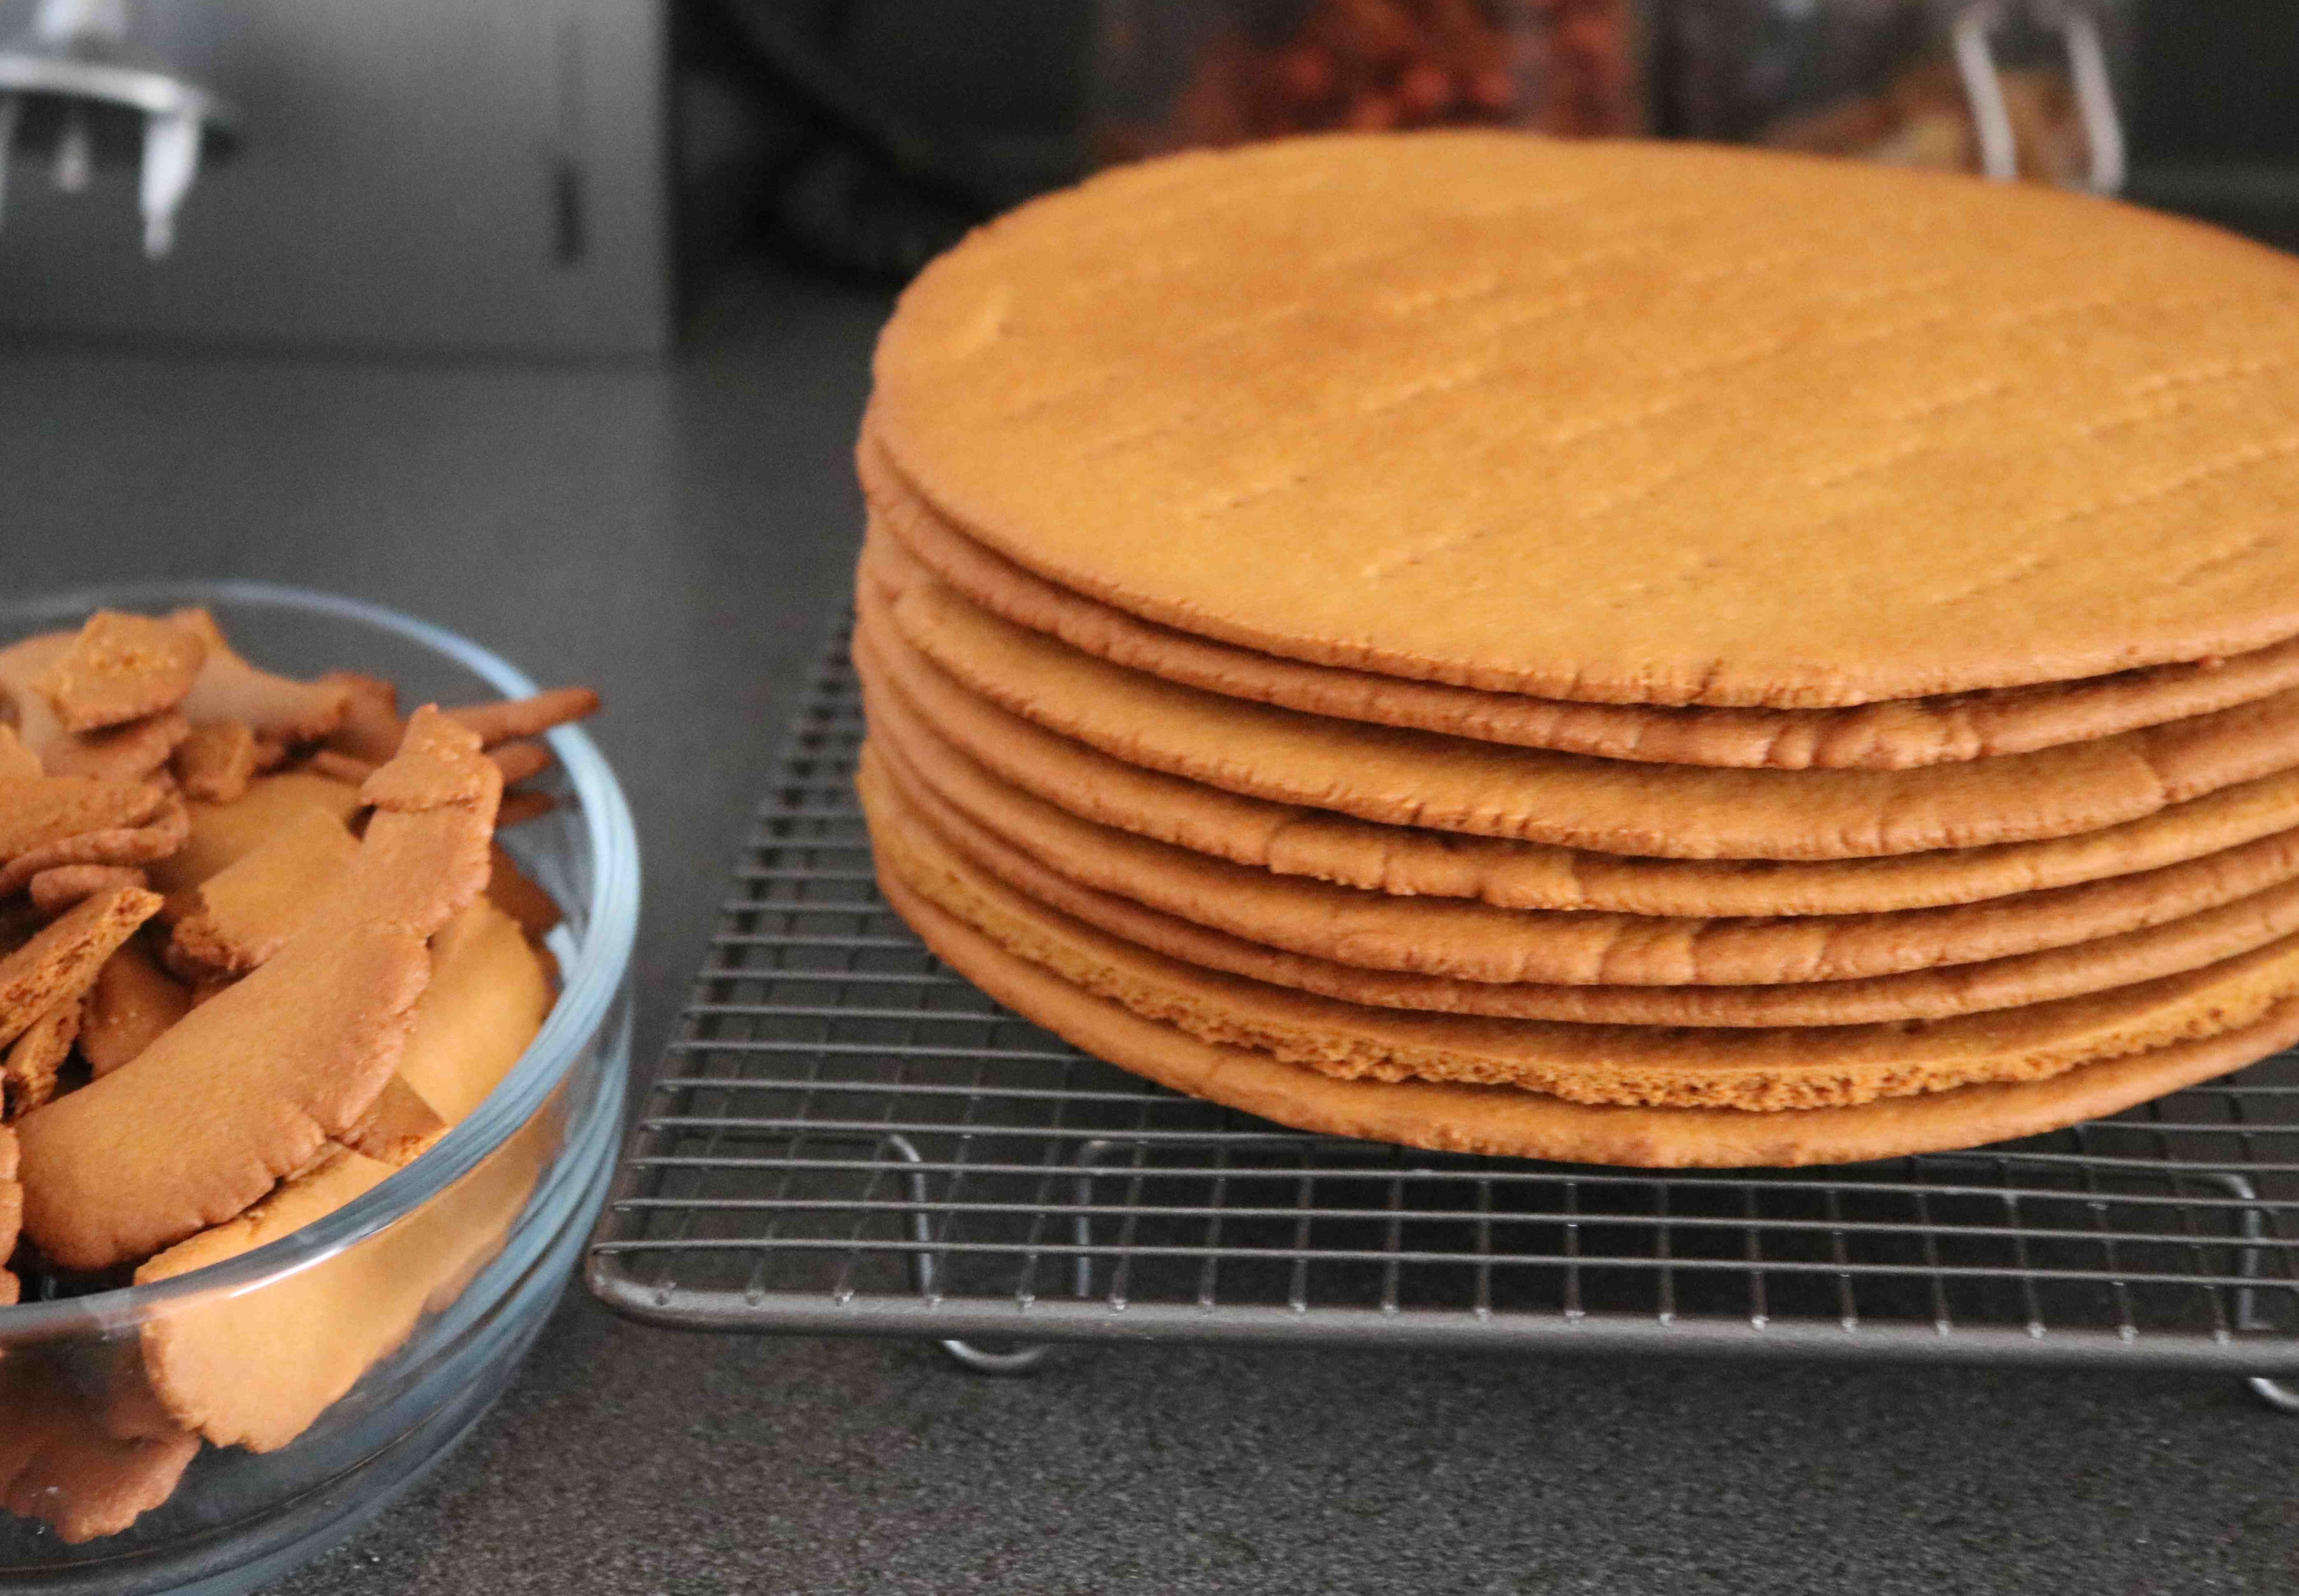
Take the biscuit out and let it cool on a wire rack.
Repeat the process until finished. Make sure that the biscuits are completely cooled before you stack them, else they will loose their shape.
I tried a bit of the scrap. It was crispy and didn’t chip my tooth. Phew!
Mix the soured cream and the dulce de leche and start assembling the cake.
Layer each biscuit with generous amount of cream. It may slide — half way through assembling the cake, mine started to resemble the leaning tower of Pisa. Just push it back to make it aligned. It’s quite forgiving.
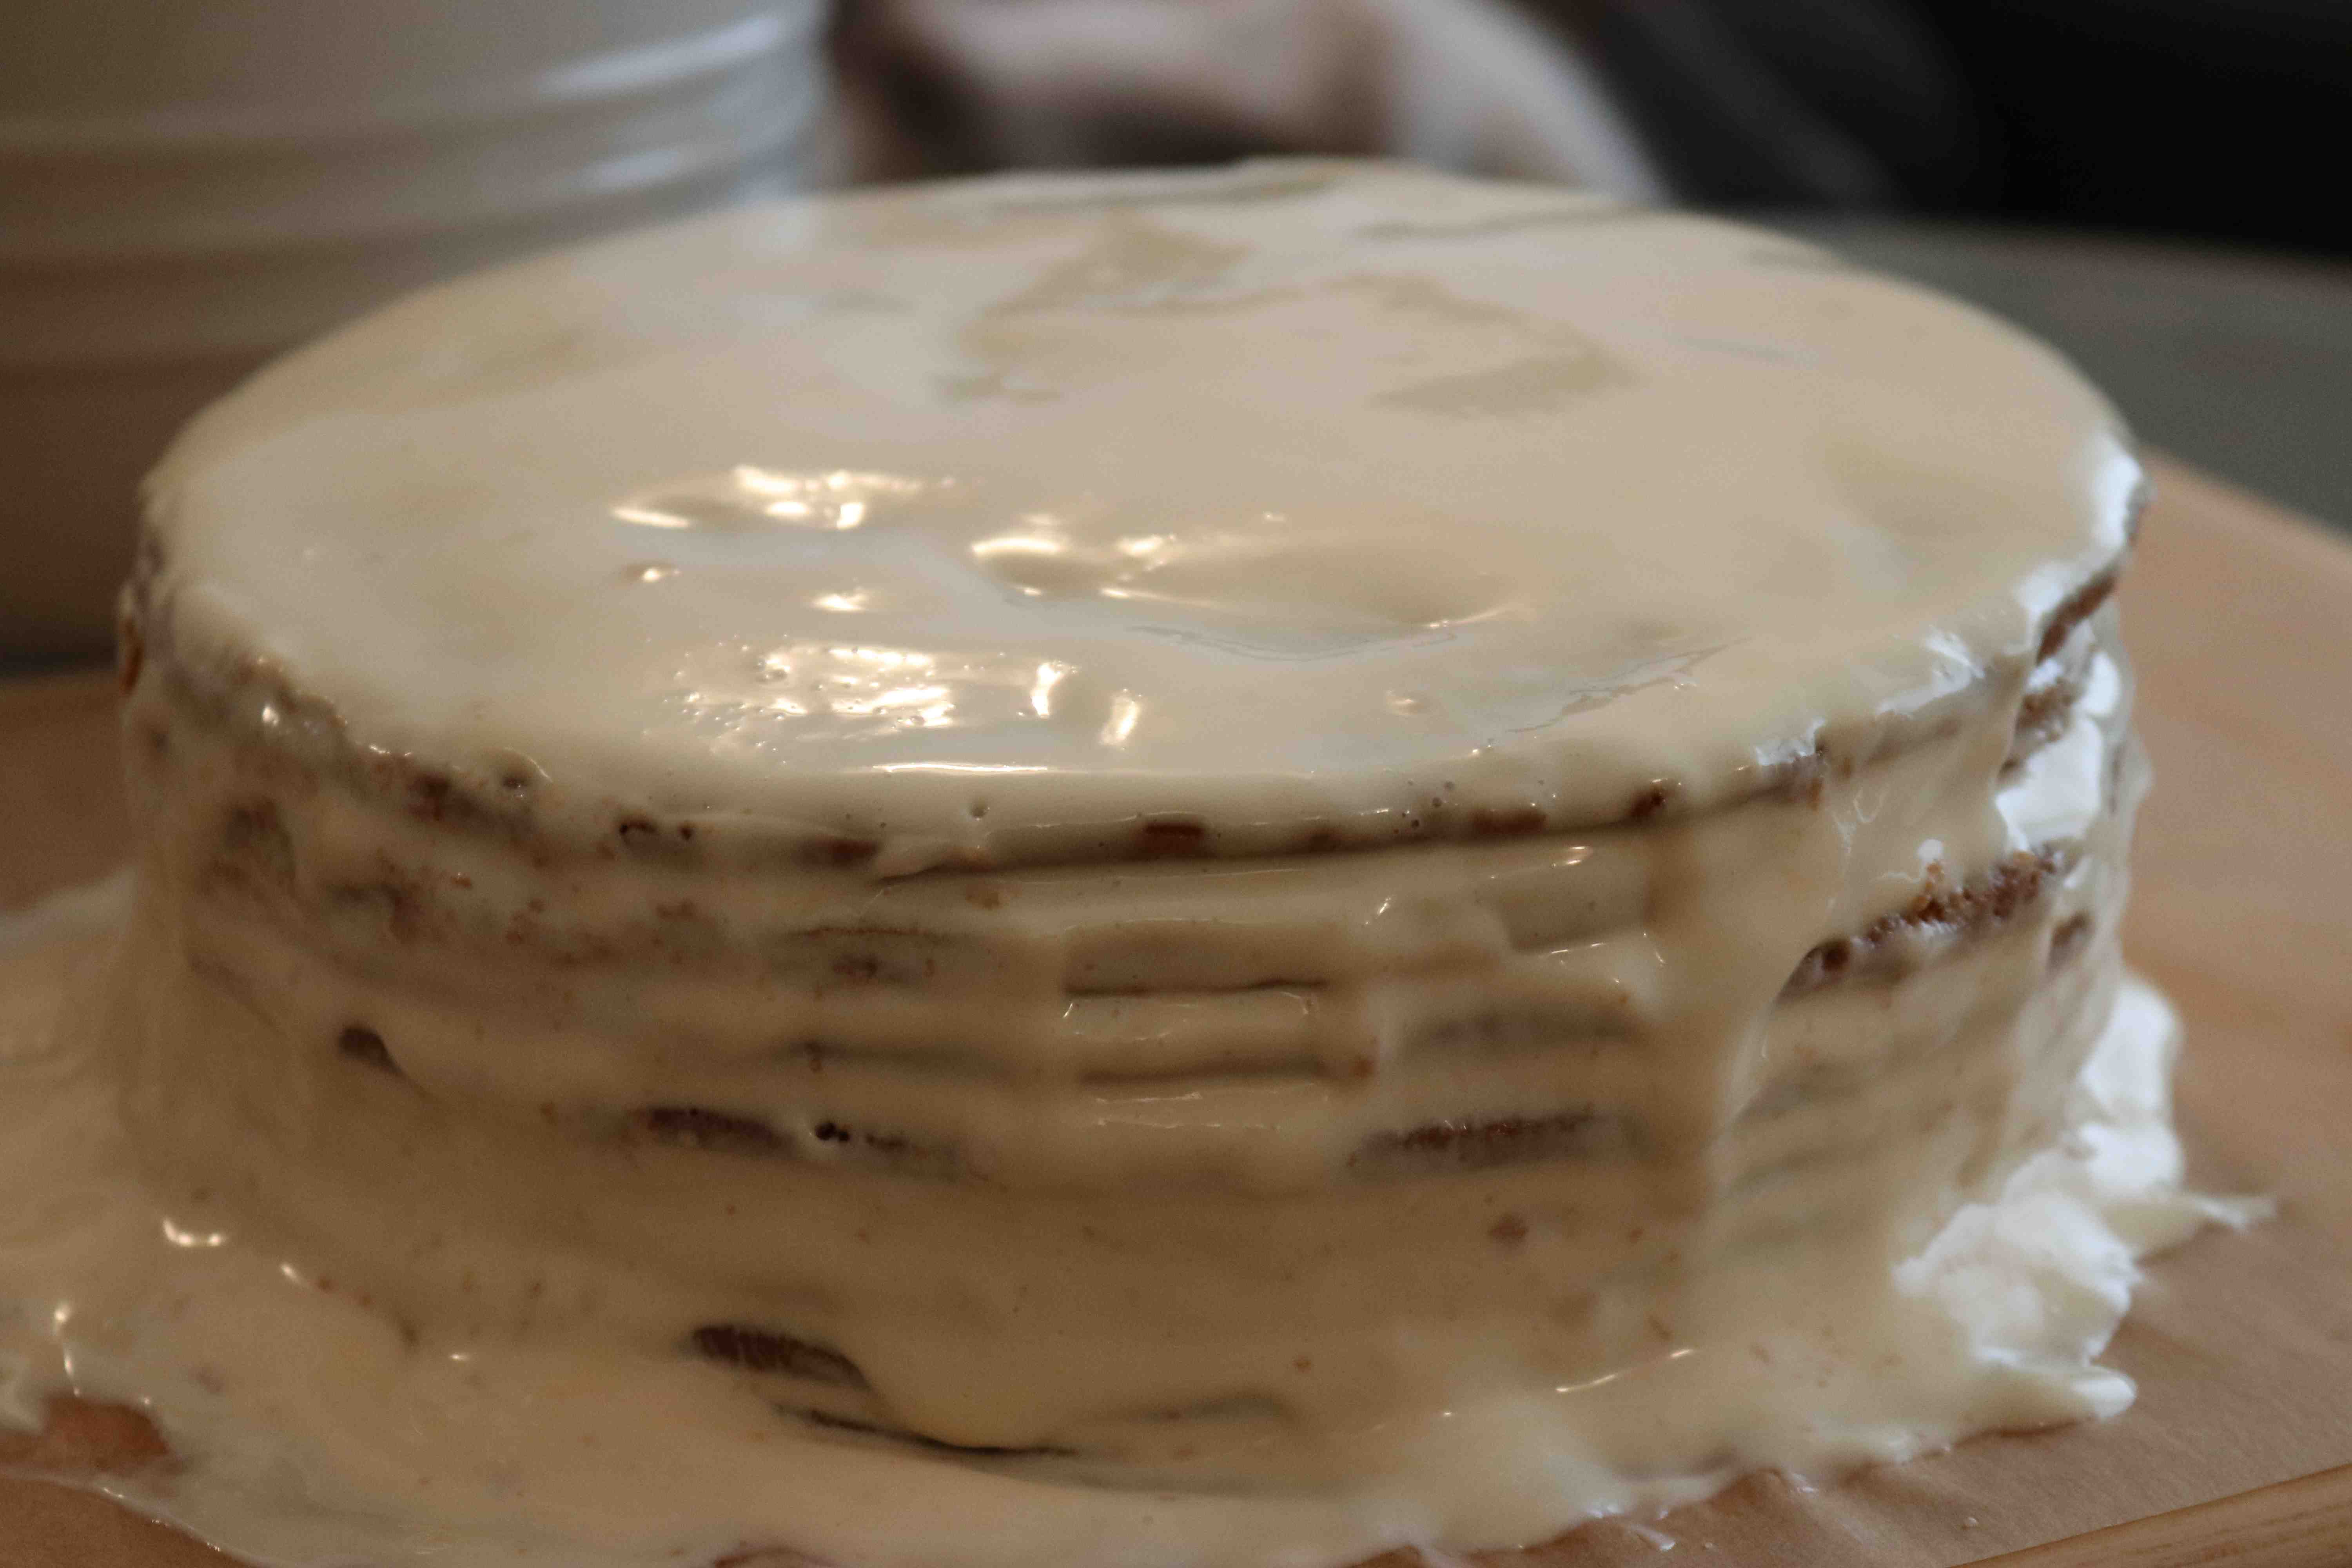
At this point, the cake does look like a sloppy mess. But fear not. It will all work out in the end.
Once done, I wrapped the cake in cling film, popped it in the frigde and waited for the magic to happen. I still had some of the cream left so I stored it in a small container and popped that in the fridge too to be used in the final process.
I was feeling tired by then. Blame it on the flu.
Oh, the scraps from the cookie baking? Don’t throw those away. You’d want to use them for decoration.
Earlier today: I toasted a cup of walnuts and ground both the nuts and the biscuit scarps until fine. Mix well.
Now, the final process (if preferred, you can do this final process straight from where I left yesterday).
I used up the leftover soured cream to to give the cake a fresh coat.
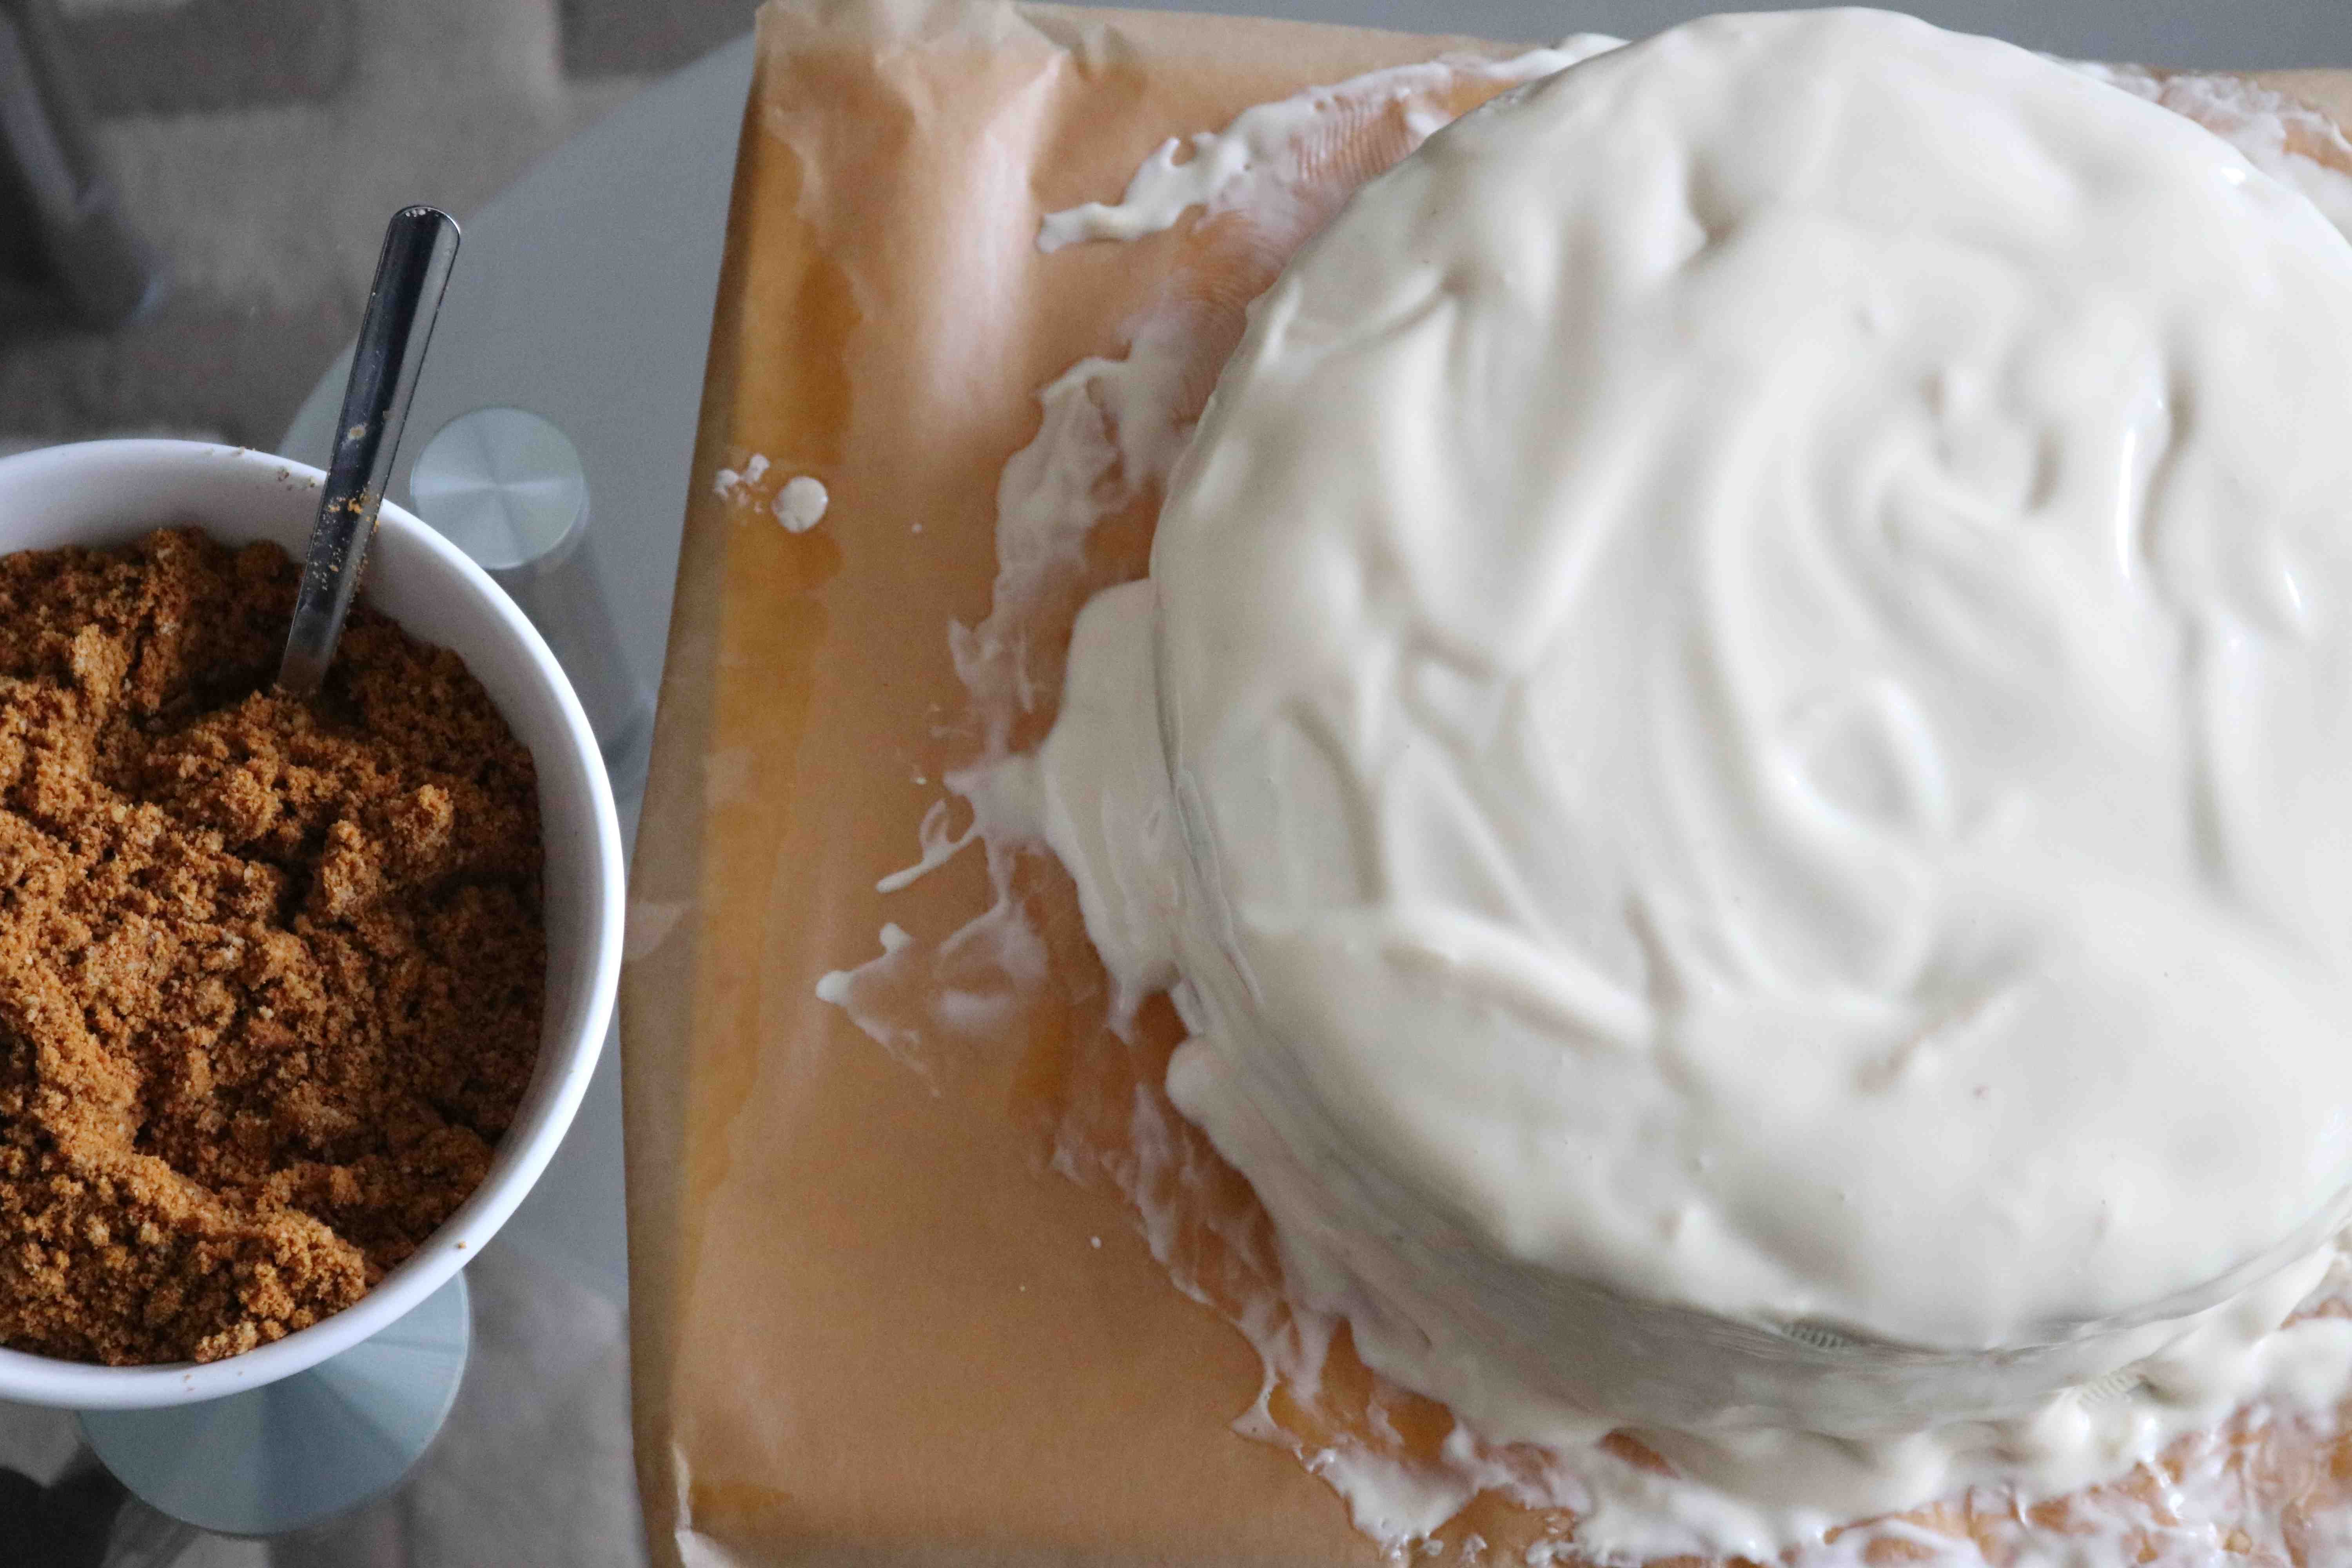
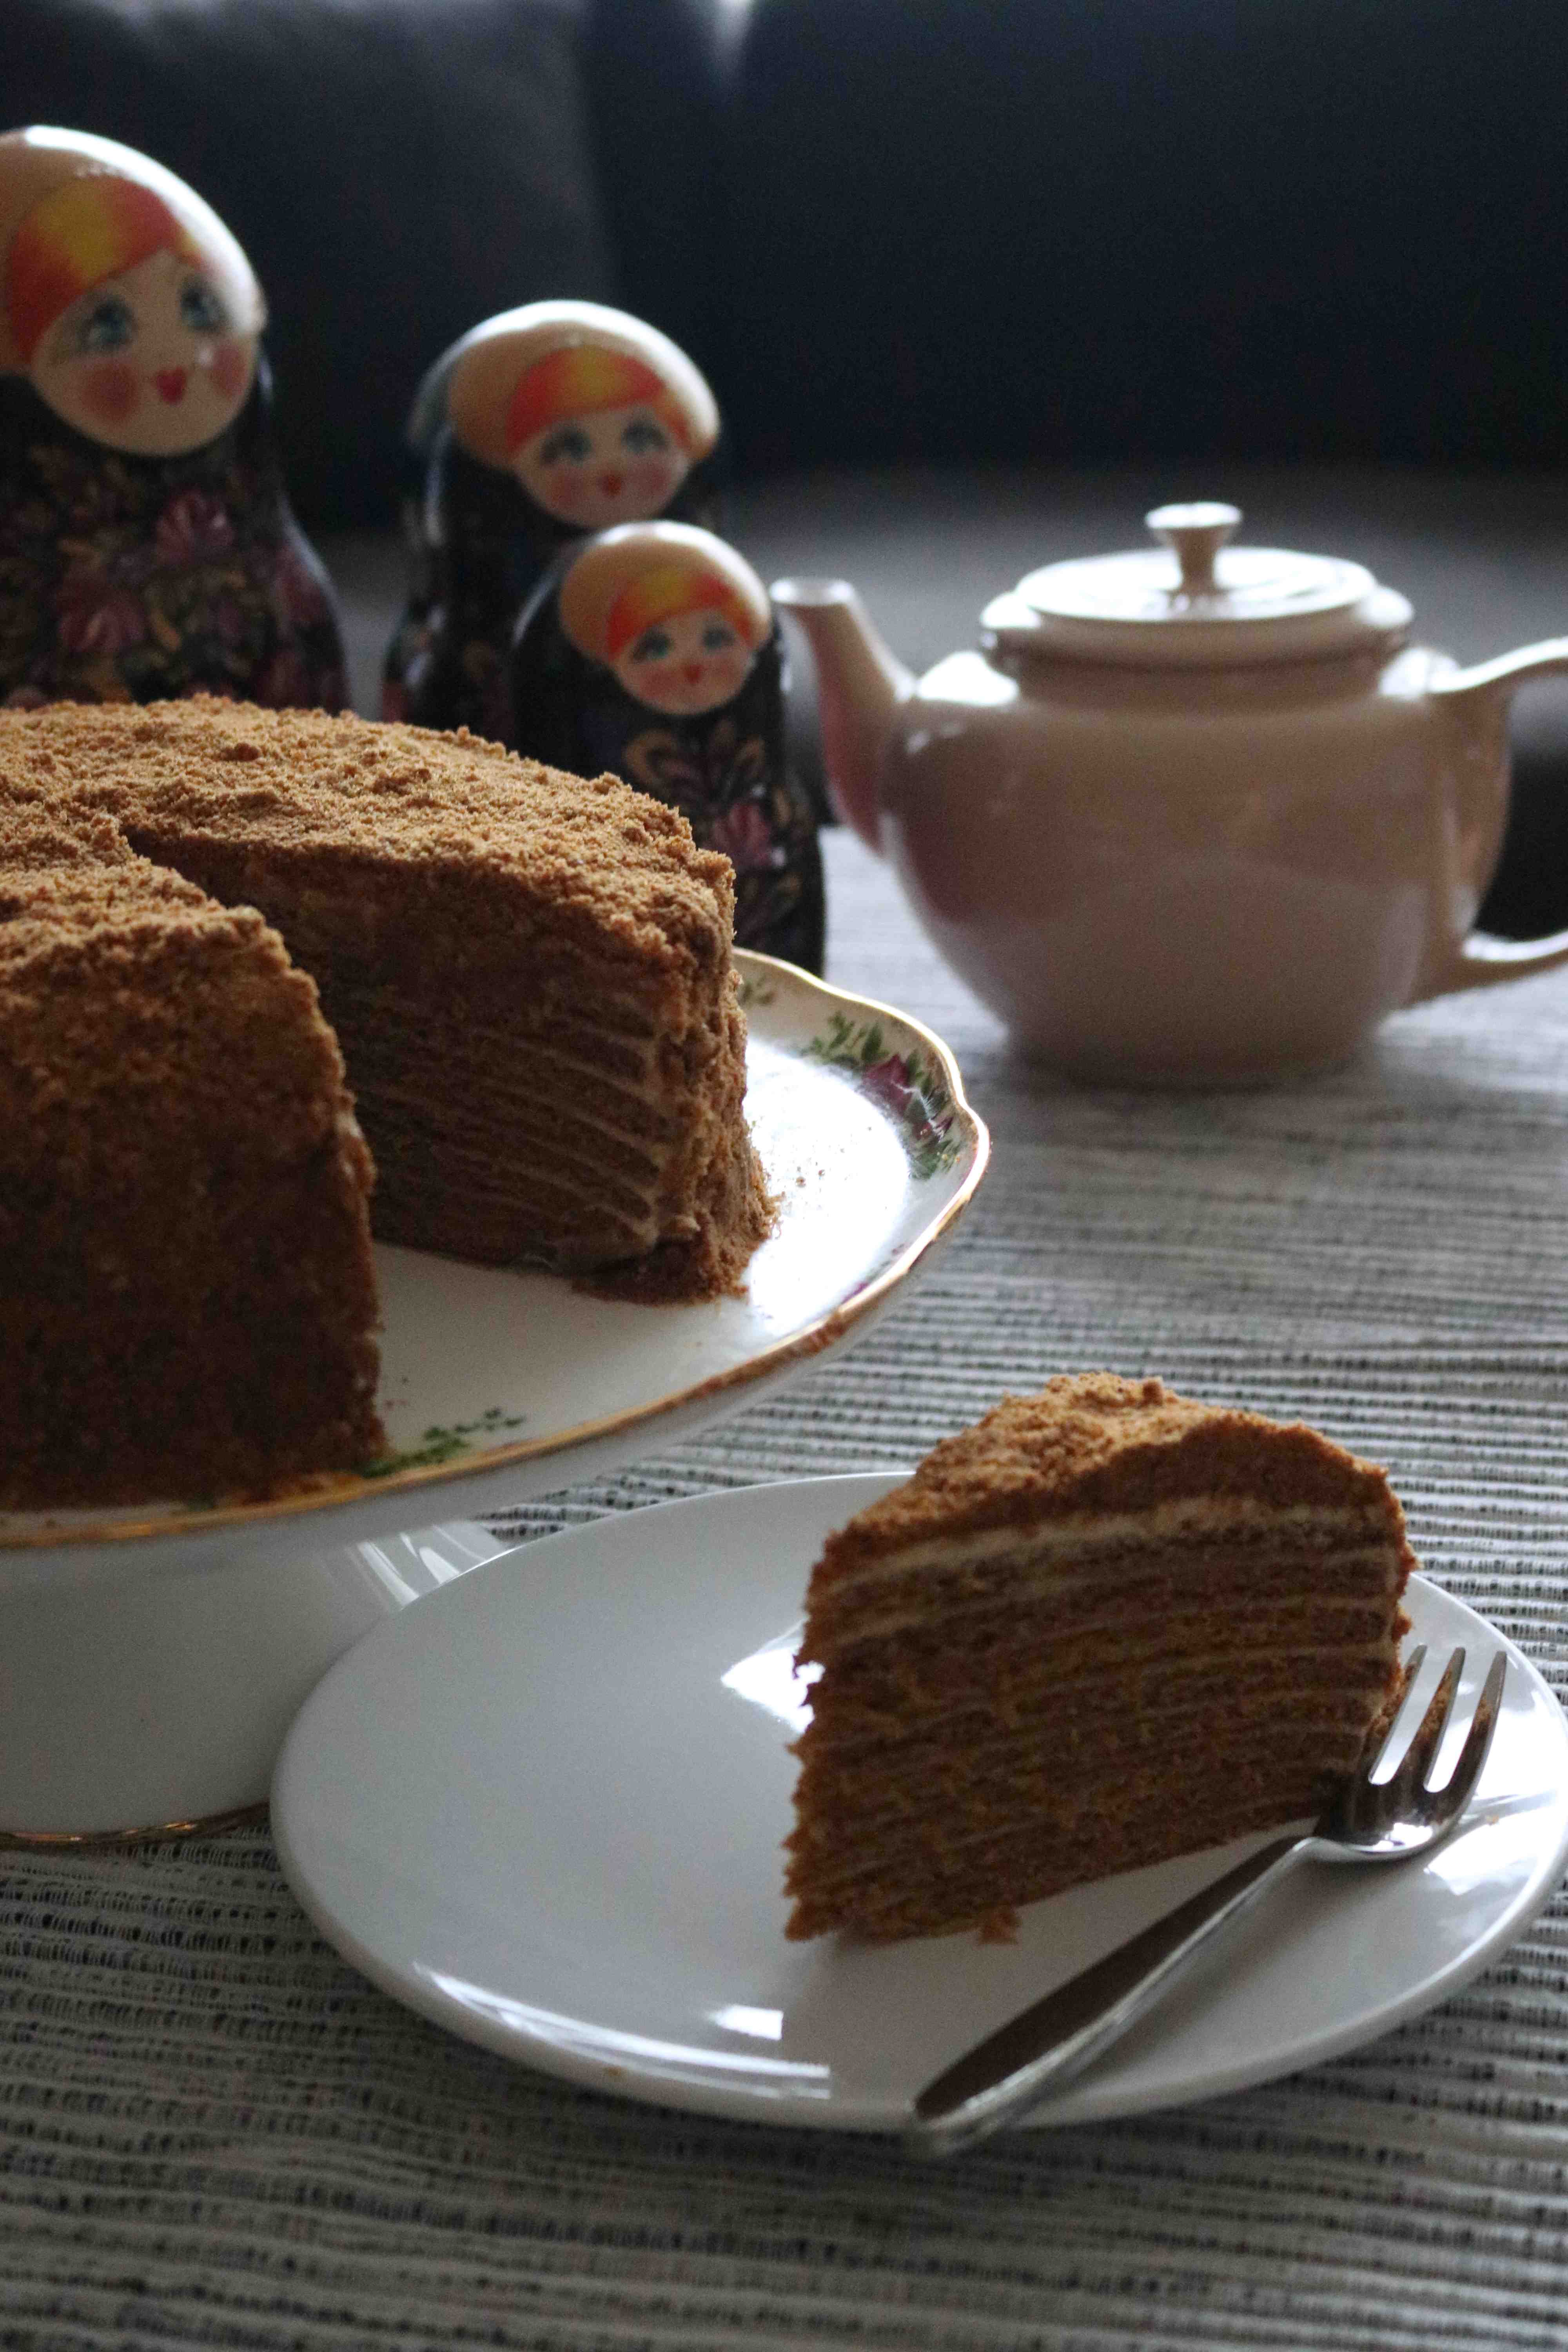
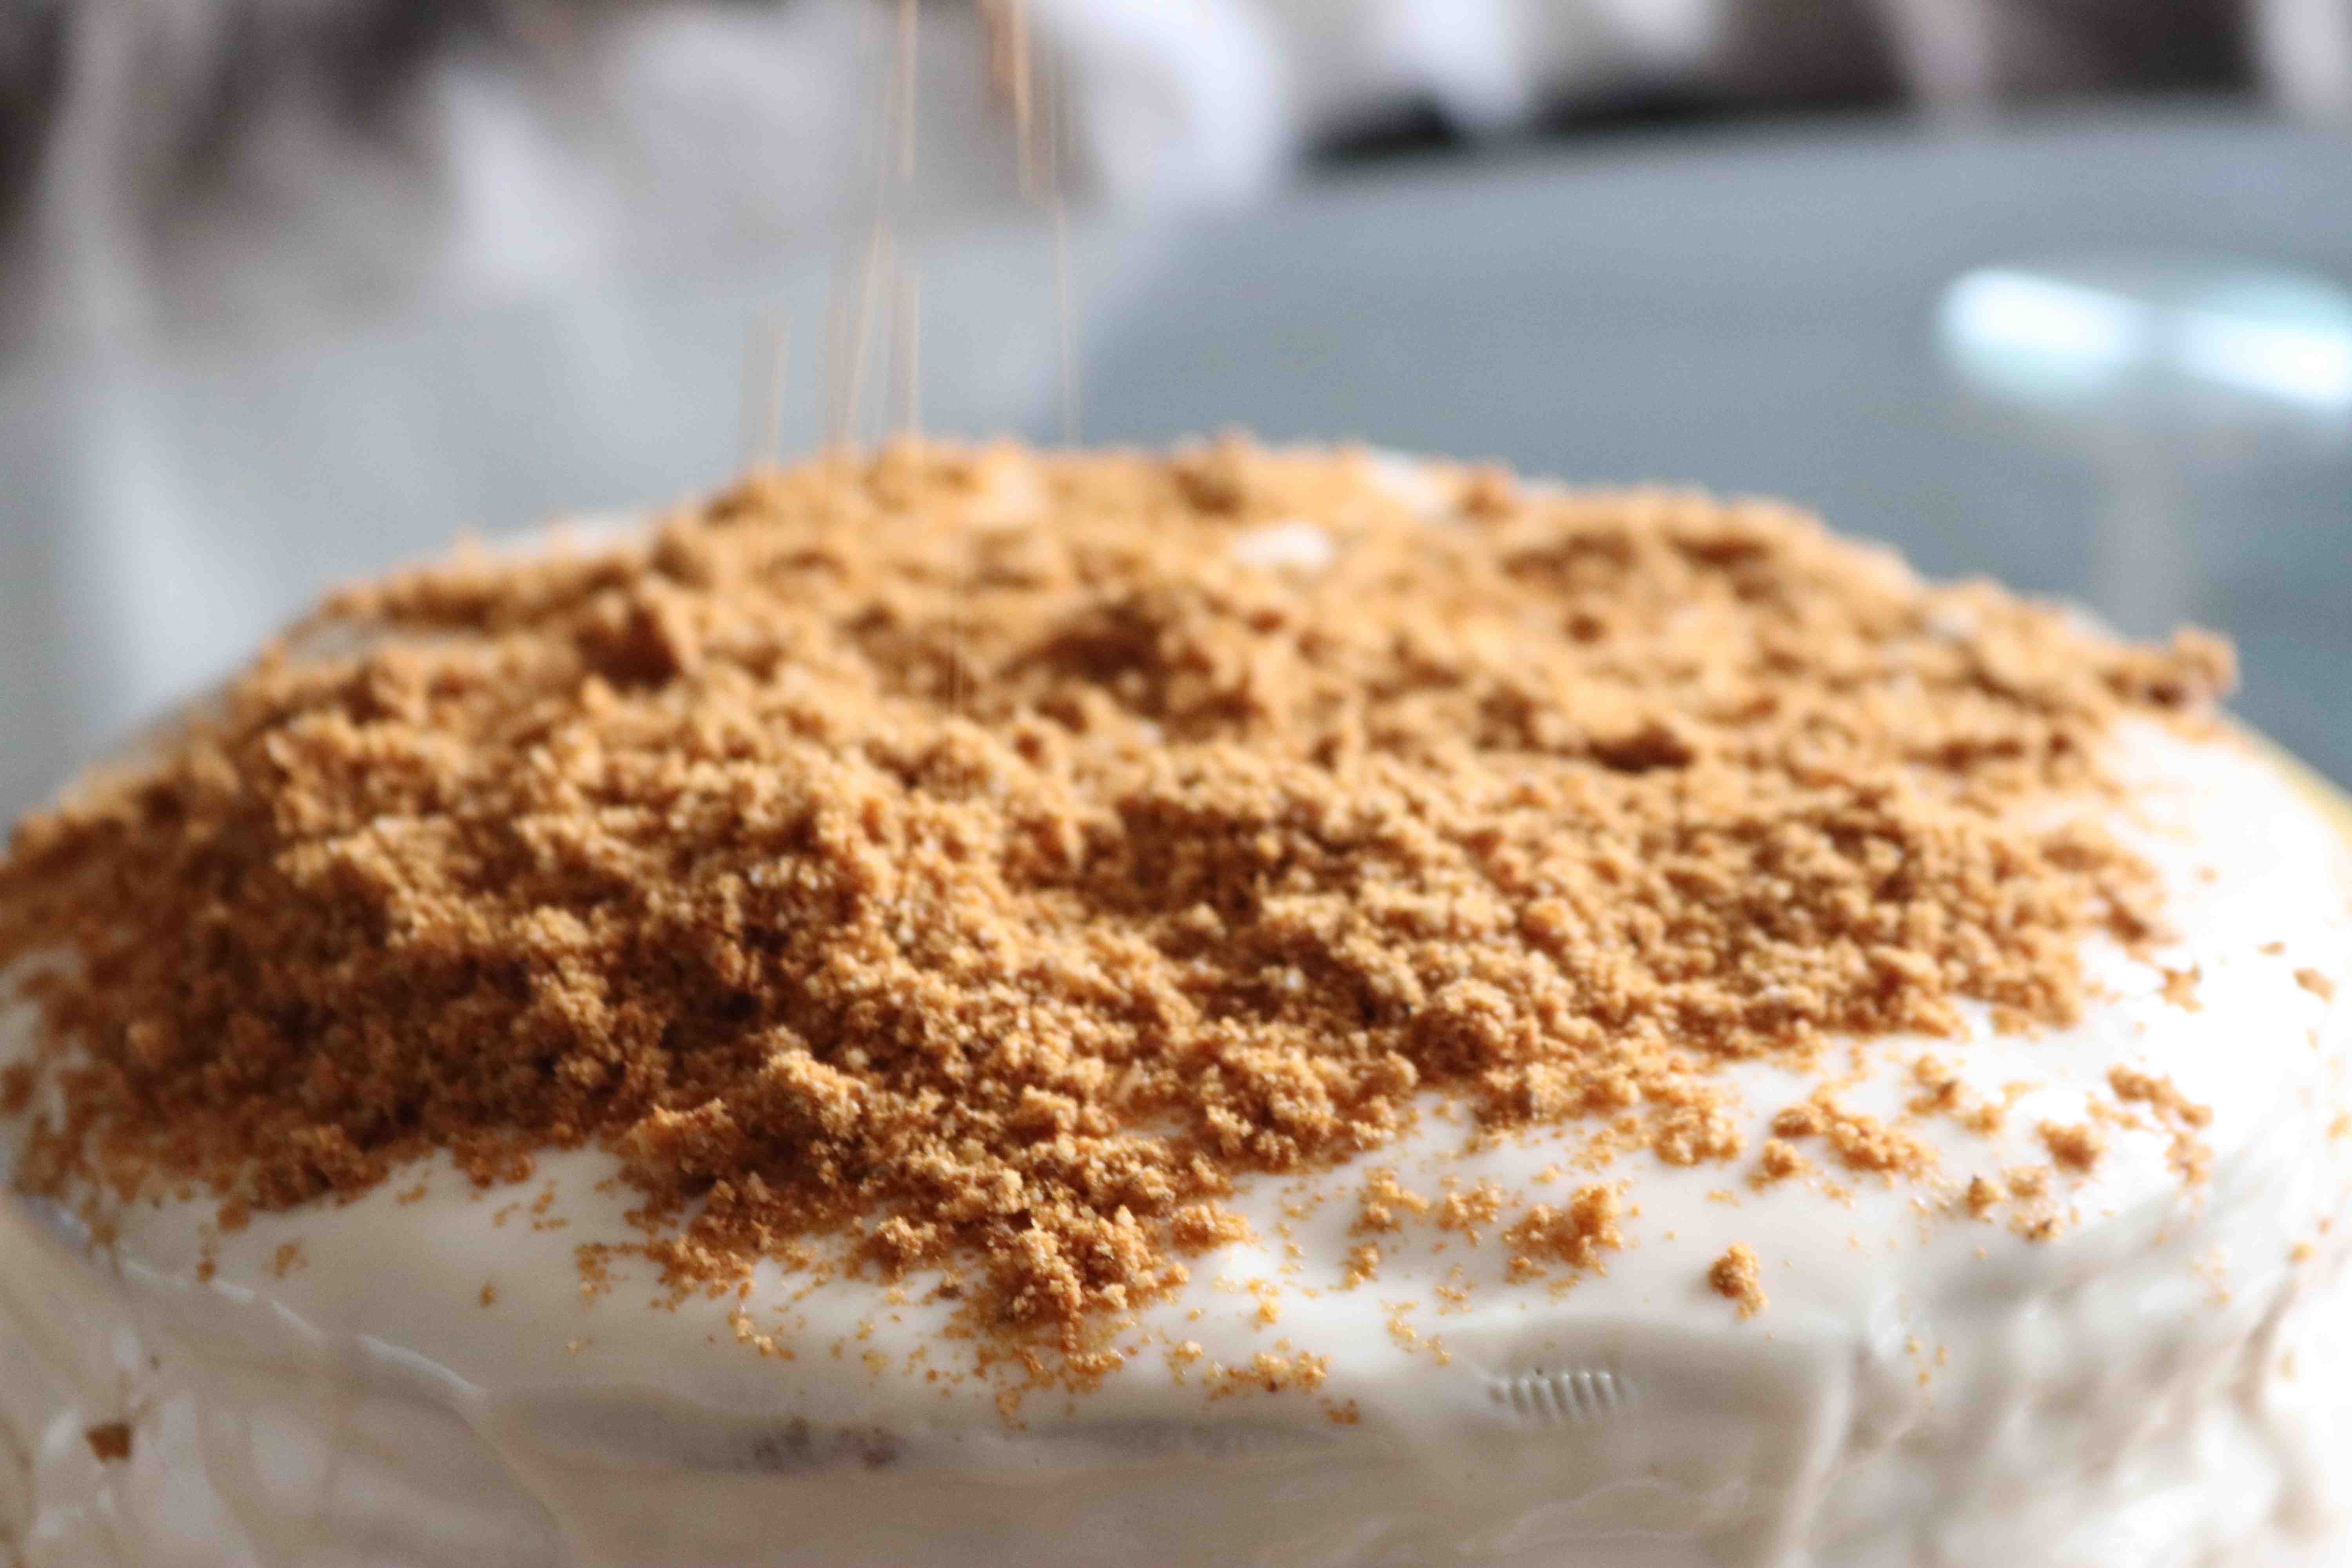
Then, I sprinkled the ground nuts and biscuit scraps all over the cake. Press the crumbs and nuts to the side of the cake until the entire cake has been coated.
After 3 days, I can now eat my cake.
Only one slice.
Today.
Merry Christmas to those celebrating. xo